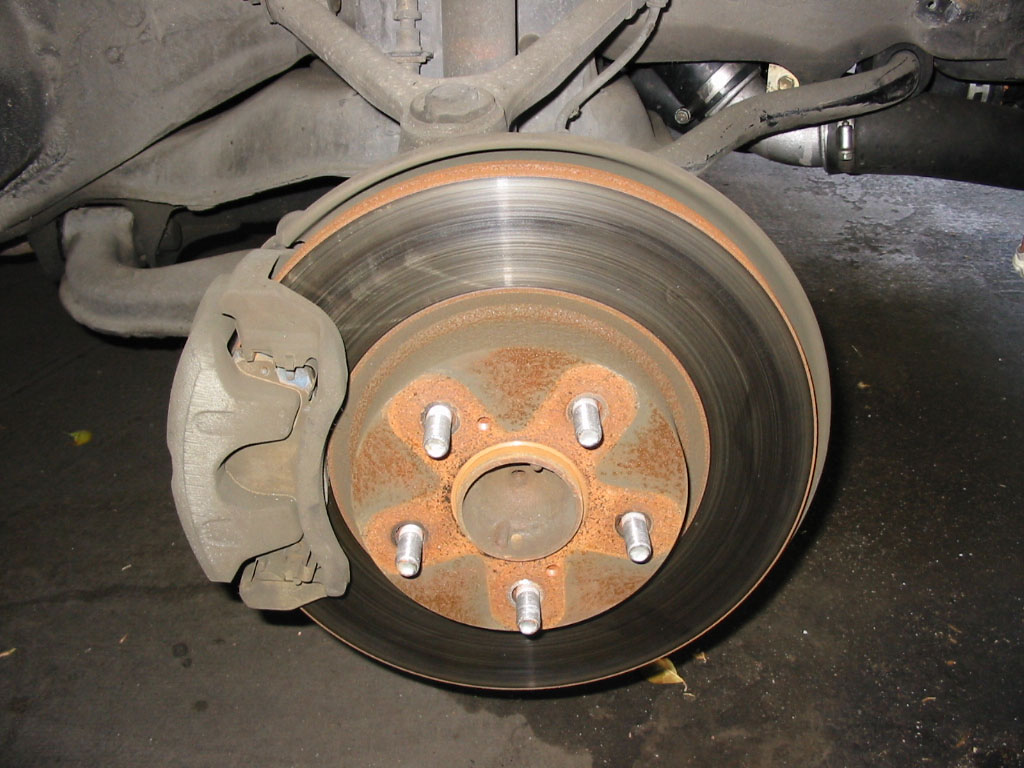
| Tools: |  |
Torque Wrench |
| 12mm Socket | ||
| Turkey Baster | ||
| Breaker bar | ||
| 13/16in Socket | ||
| C-Clamp(medium-large size) | ||
| Materials: | New pads | |
| Anti Squeal Shim Kit(optional) | ||
| Brake fluid. |
While you are here
| 1. | Bleed/flush your brake fluid. |
| 2. | If you are industrious replace the brake lines with braided SS lines. |
Instructions
| 1. | Using the breaker bar and the 13/16in socket remove a wheel, only do one at a time otherwise you could push the other wheels piston out of the caliper assembly when you compress this wheel's piston. |
| 2. | With the 12mm socket remove the two bolts holding the break line to the wheel hub. |
| 3. | With the 12mm socket remove the installation bolt from torque plate |
| 4. | Rotate the caliper assembly up and remove the two 'springs' and pads. |
| 5. | Remove and install new pad support plates(clips) if desired. |
| 6. | Install the #1 anti squeal shim to the pads with the notches facing forward. Next install the #2 anti squeal shim over the #1 shim snapping it onto the new pad. Finally install the pad wear indicators on the new pads. You can reuse the old shims and indicators just swapping them onto the new set of pads. |
| 7. | Now rotate the caliper assembly up again and snap the pads into the support plates then place the springs on the pads. |
| 8. | Crack the top of the cover on the fluid reservoir and use the turkey baster to remove the fluid to the "low" level. |
| 9. | Using a C-clamp compress the piston back flush with the caliper assembly. This will push brake fluid back up the lines so make sure your reservoir is low otherwise you will overflow and brake fluid is bad for things. |
| 10. | Rotate the caliper assembly back over the pads making sure that the dust boot isn't wedged. |
| 11. | Insert and tighten the installation bolt(12mm) to 27 ft/lb. |
| 12. | Insert and tighten the the two bolts holding the break line to the wheel hub to 14ft/lb |
| 13. | Replace the wheel and tighten the lug nuts(15/16in) to 76 ft/lb. |
| 14. | Repeat on the other wheel. |
| 15. | When all done top off fluid. |