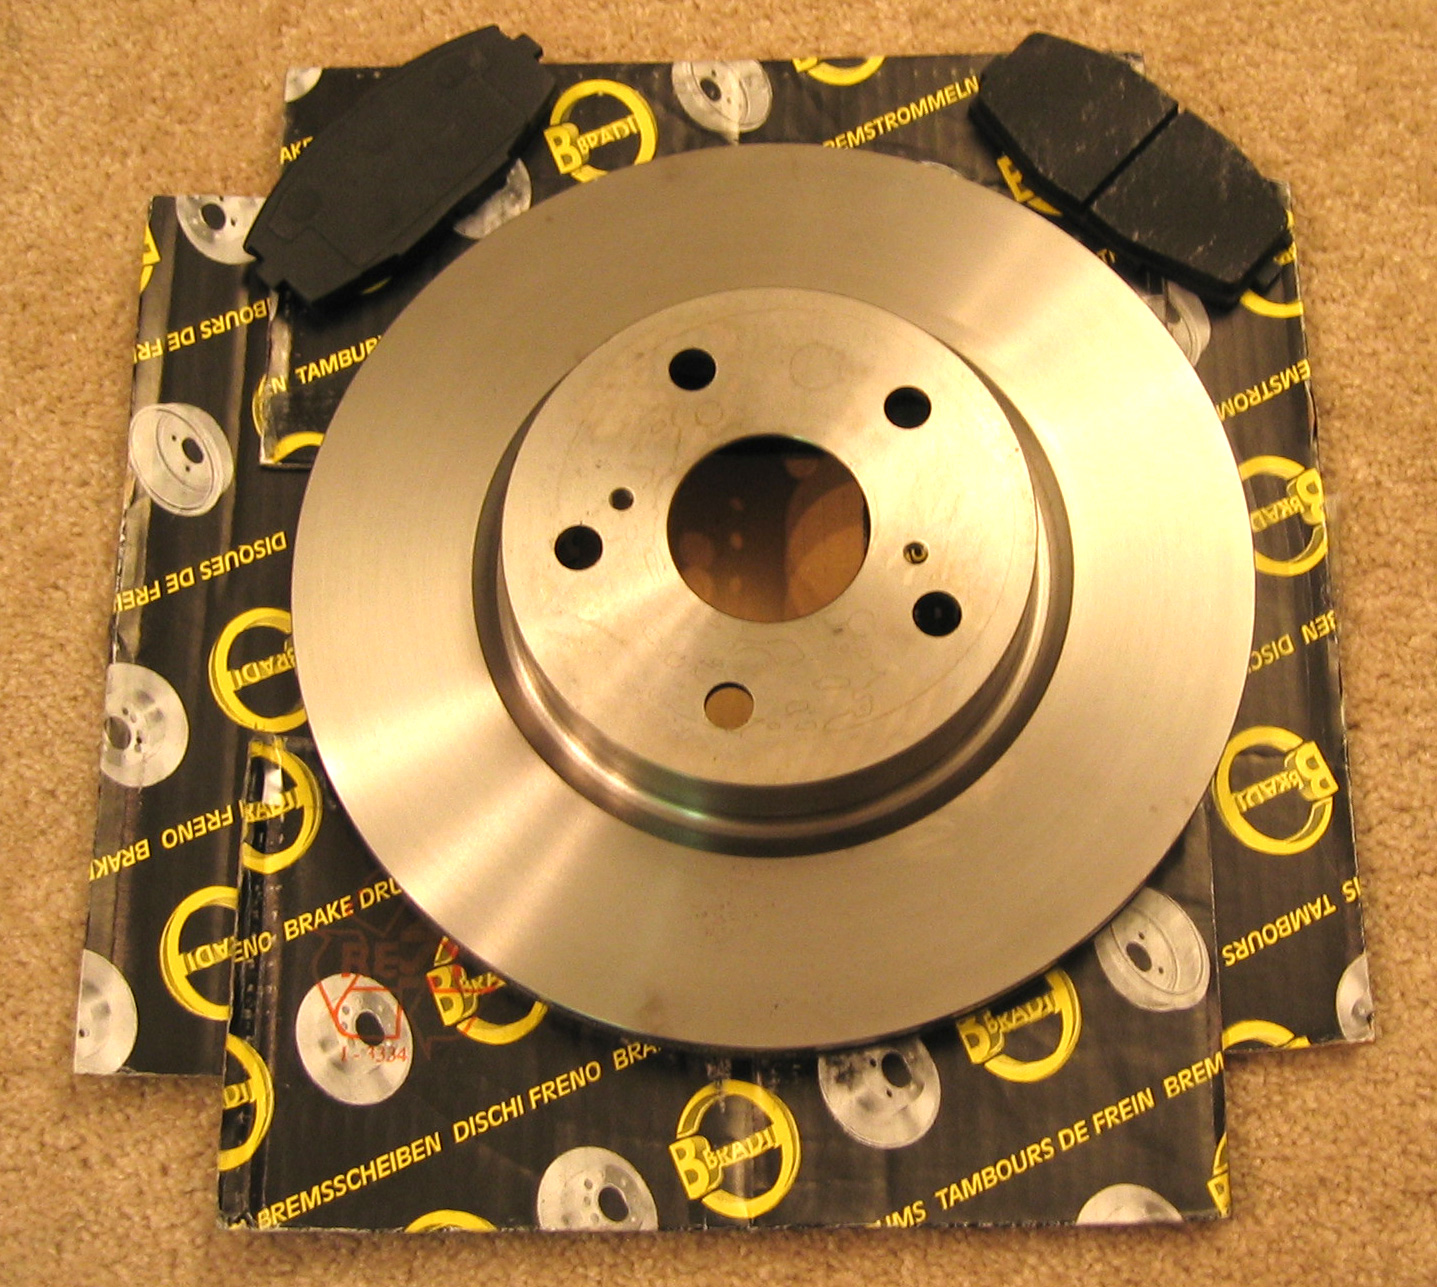
-
Cryo Treating
Cryo treating involves cooling the rotors in liquid nitrogen (77K) for 72 hours to remove the stress from the metal so they will last longer, warp less, and be much more resistant to cracking. -
Slotting
Slotting involves cutting radial-ish groves in the rotor that will scrape away some of the pads surface to help combat glazing and always give you a clean surface. -
Drilling
Drilling involves actually drilling holes through the rotor. This is to combat gassing, for those of us running 1950's brake pads, and to aid cooling. It actually makes your rotors much more prone to cracking and reduces the thermal capacity of the rotor but removing metal that could have acted as a heat sink.
| Tools: |  |
Torque Wrench |
| 12mm Socket | ||
| 17mm Socket | ||
| Turkey Baster | ||
| Breaker bar | ||
| 13/16in Socket | ||
| C-Clamp(medium-large size) | ||
| Two screwdrivers or bolts to push off the rotor | ||
| Materials: | Front Porterfield Rotors (AP 435) | |
| Front Porterfield R4S Pads (JBR 339) |
While you are here
| 1. | Bleed/flush your brake fluid. |
| 2. | If you are industrious replace the brake lines with braided SS lines. |
| 3. | Rebuild your calipers |
Instructions
| 1. | Using the breaker bar and the 13/16in socket remove a wheel, only do one at a time otherwise you could push the other wheels piston out of the caliper assembly when you compress this wheel's piston. |
| 2. | With the 10mm socket remove the two bolts holding the break line to the wheel hub. |
| 3. | With the 12mm socket remove the installation bolt from torque plate |
| 4. | Rotate the caliper assembly up and remove the two 'springs' and pads. |
| 5. | Slide the caliper off the upper pin and support by setting on something so stress isn't on the brake line. |
| 6. | Remove and the old pads and shim plates. |
| 7. | Loosen the two 17mm bolts holding the torque plate on and remove the torque plate. |
| 8. | Remove the disc by either using the threads in the hub section to push it out or stick two screwdrivers in opposite venting holes and tug it out. |
| 9. | Clean all of the oil and junk off the new disk and place it on the hub. |
| 10. | Replace the torque place, regreasing the sliding pin as needed, and tighten the 17mm bolts to 77 ft/lb. |
| 11. | Now place the caliper assembly back on the top pin and rotate it up again and snap the pads into the support plates then place the springs on the pads. |
| 12. | Crack the top of the cover on the fluid reservoir and use the turkey baster to remove the fluid to the "low" level. |
| 13. | Using a C-clamp compress the piston back flush with the caliper assembly. This will push brake fluid back up the lines so make sure your reservoir is low otherwise you will overflow and brake fluid is bad for things. |
| 14. | Rotate the caliper assembly back over the pads making sure that the dust boot isn't wedged. |
| 15. | Insert and tighten the installation bolt(12mm) to 27 ft/lb. |
| 16 | You really should bleed it at this point. |
| 17. | Replace the wheel and tighten the lug nuts(15/16in) to 76 ft/lb. |
| 18. | Repeat on the other wheel. |
| 19. | When all done top off fluid. |