Nylon Bushings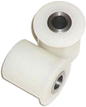 |
Cleaned-up Front Lower A-Arm with new ball joints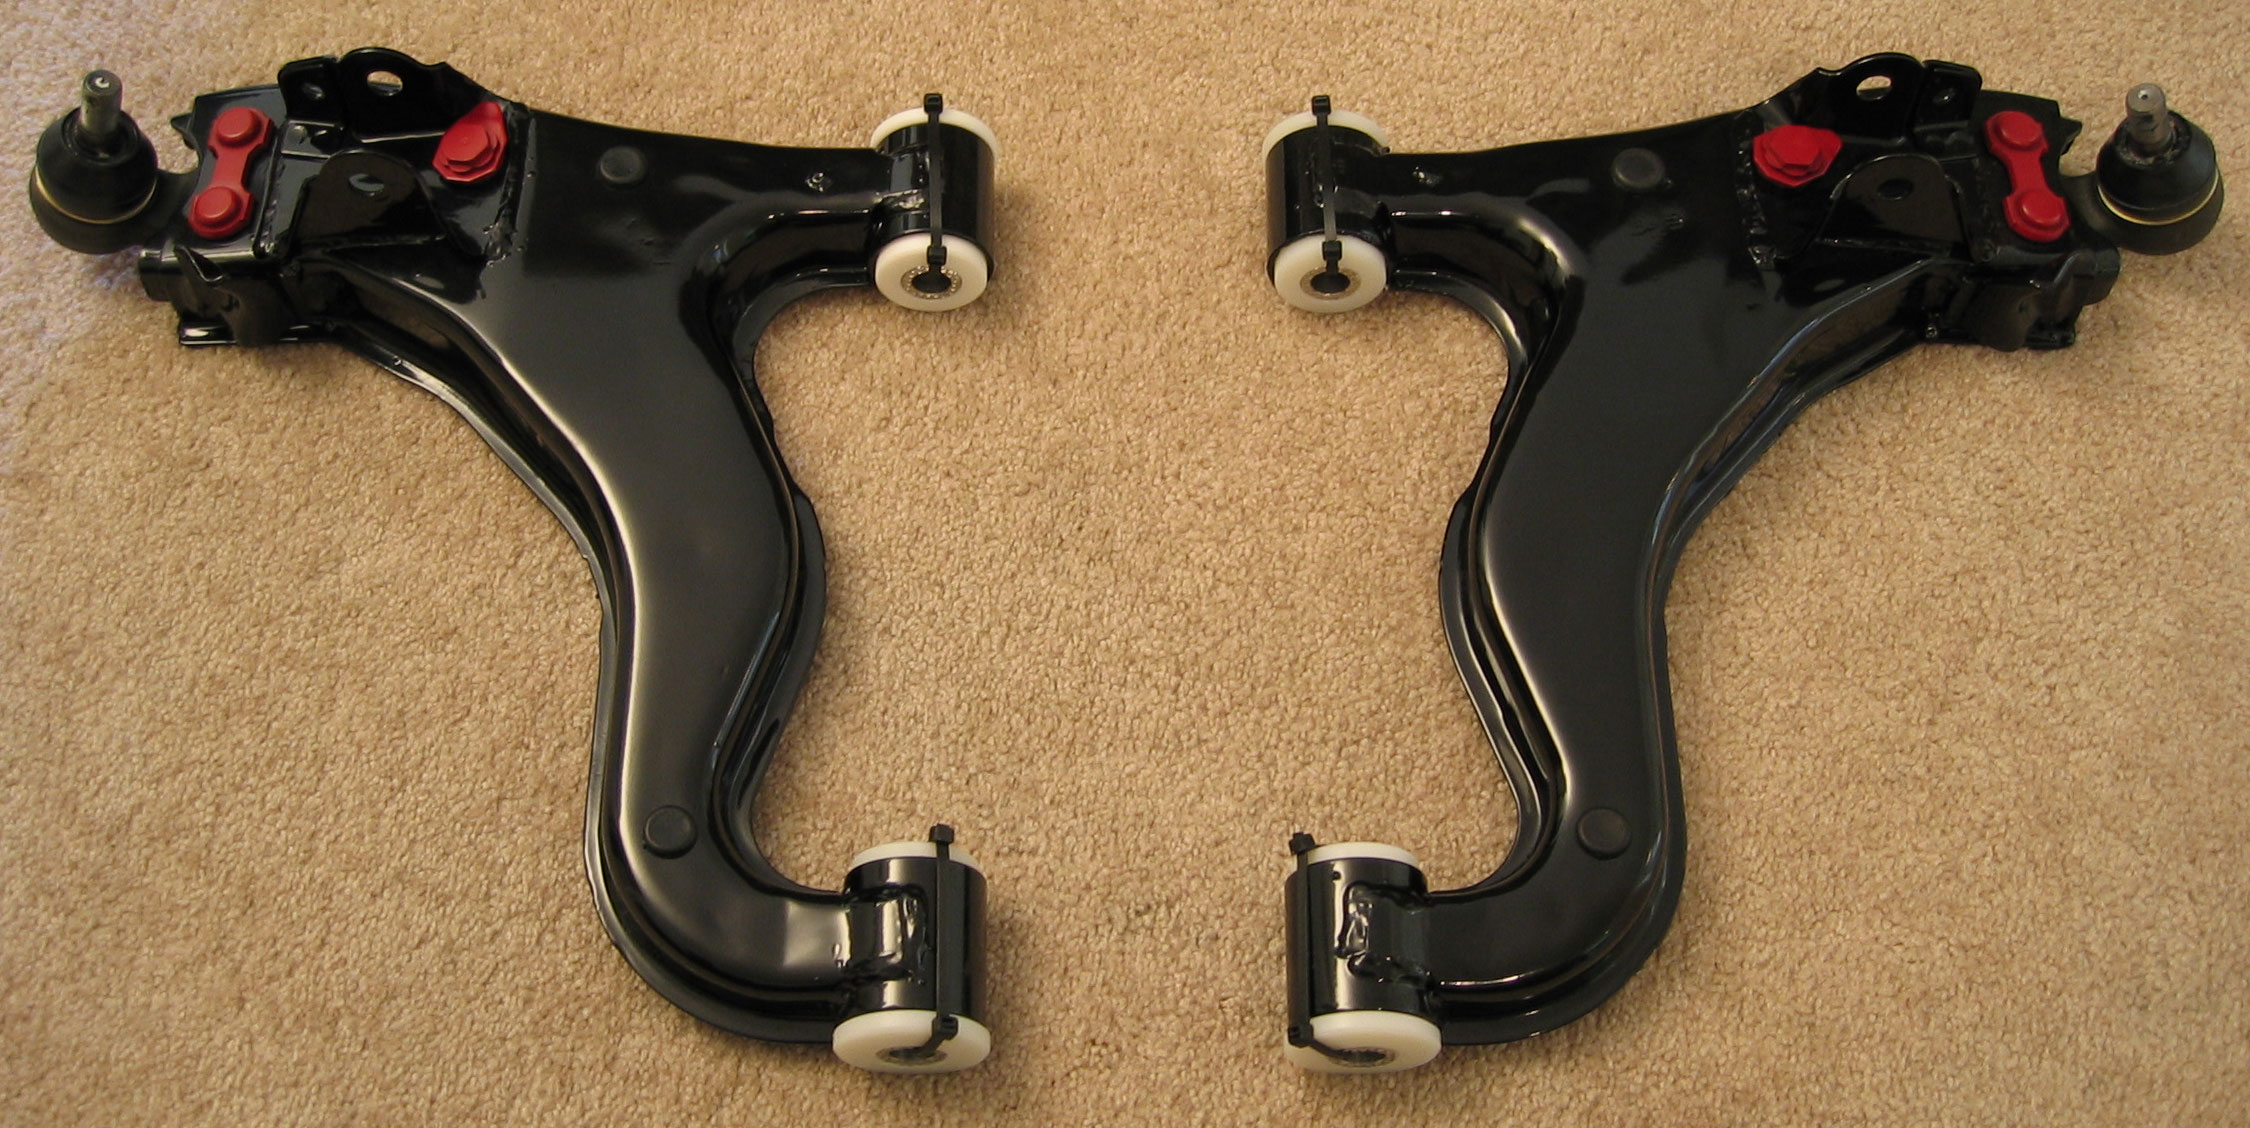
|
McGuard Tuner Lug Nuts MCG-65557BK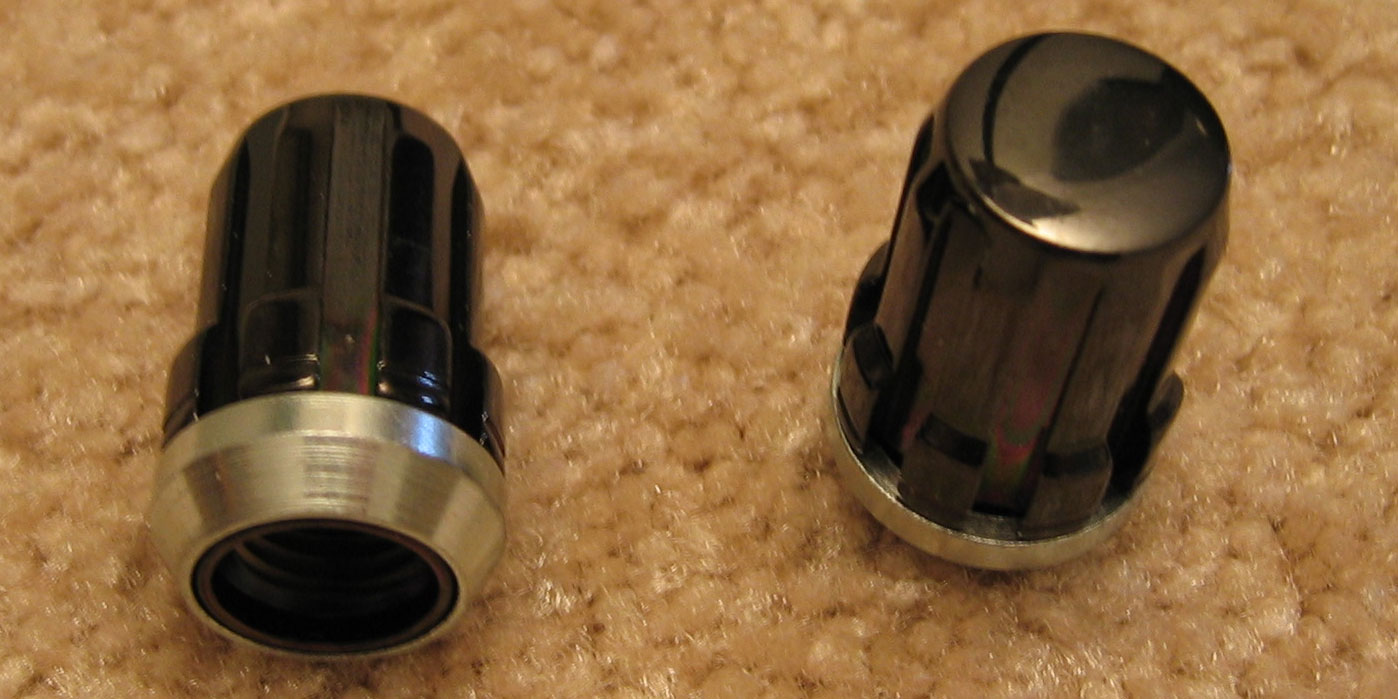
|
Cleaned-up Front Upper A-Arm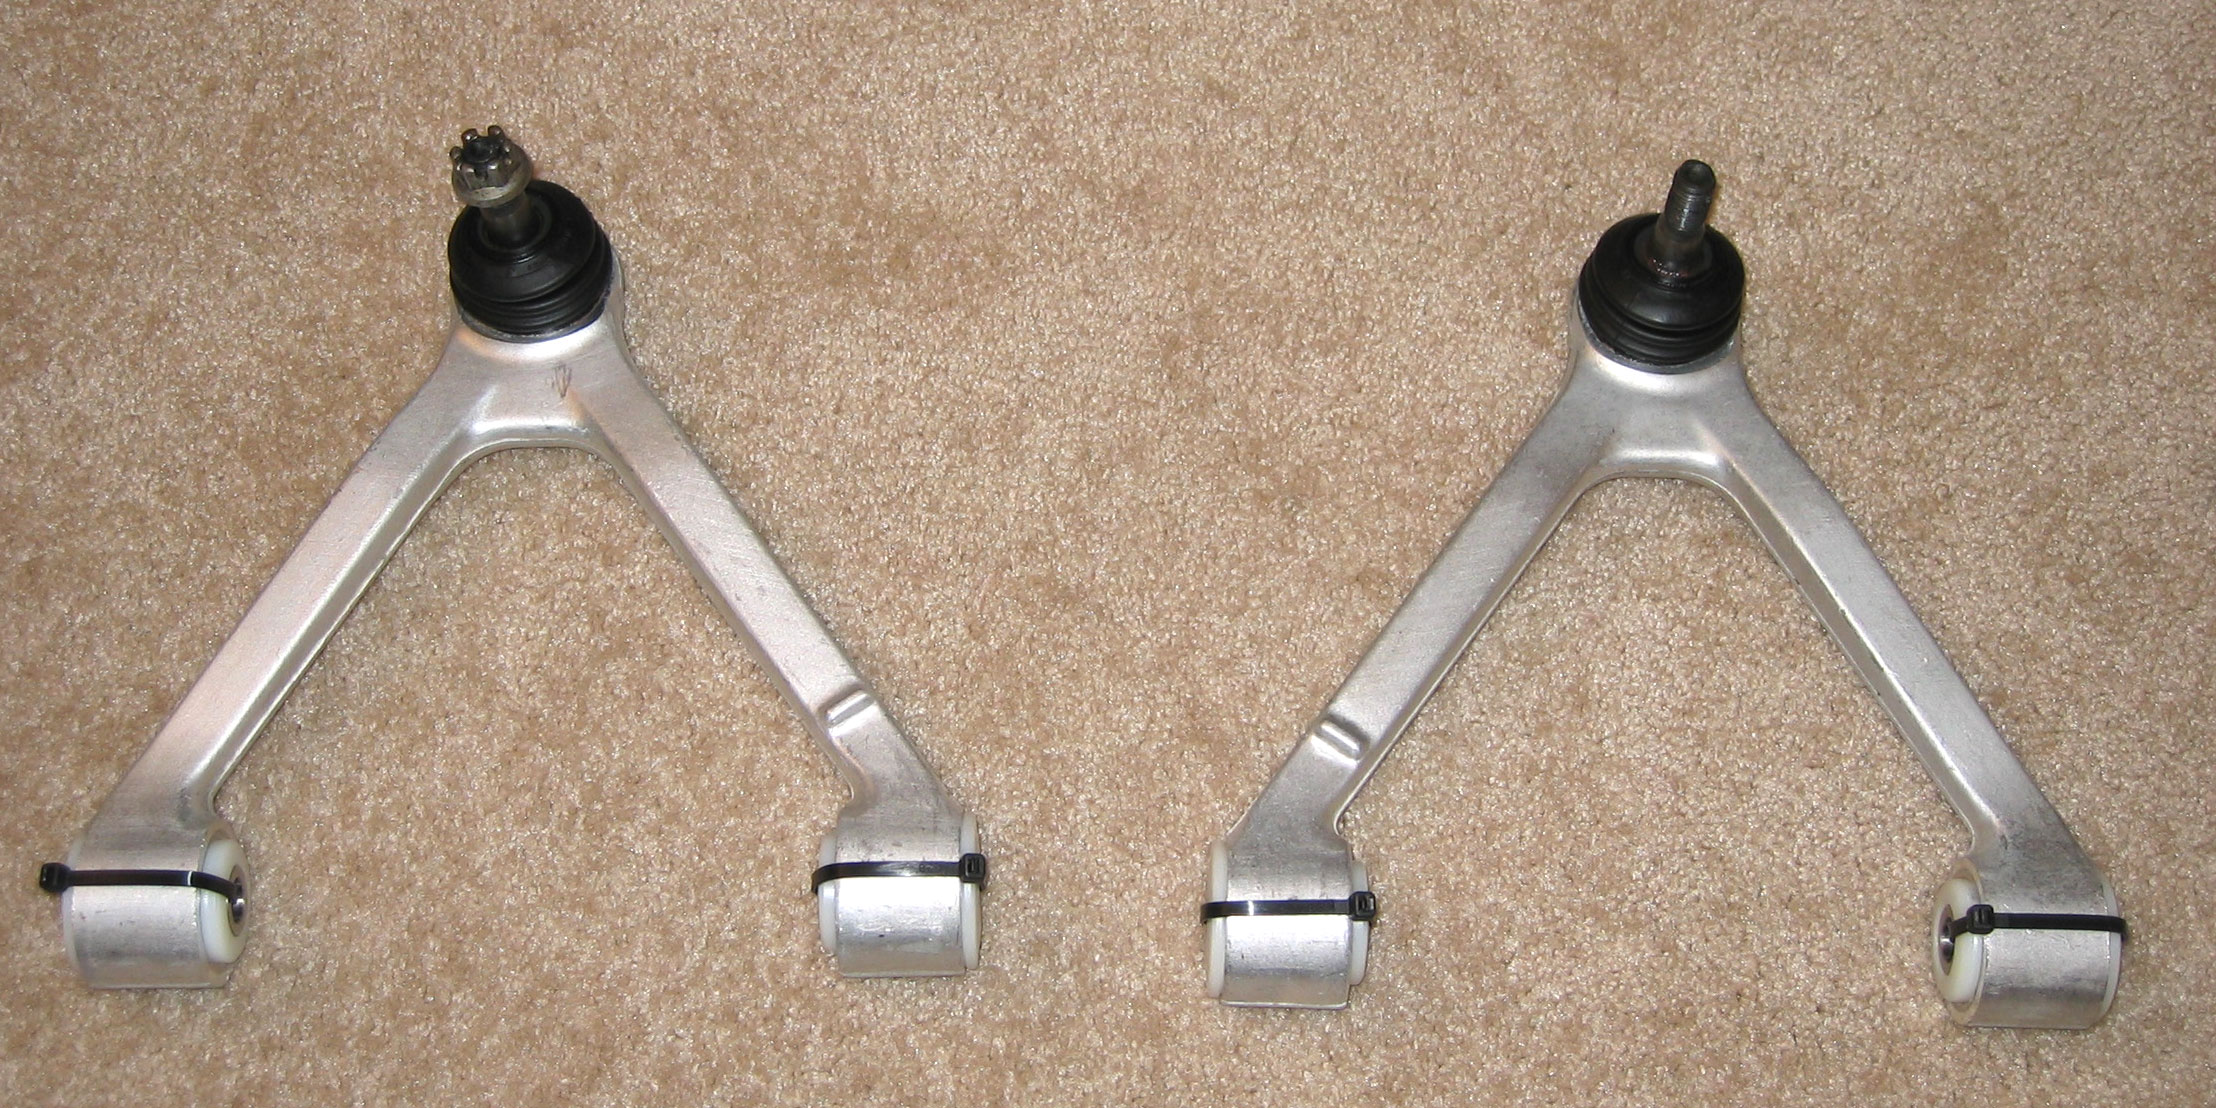
|
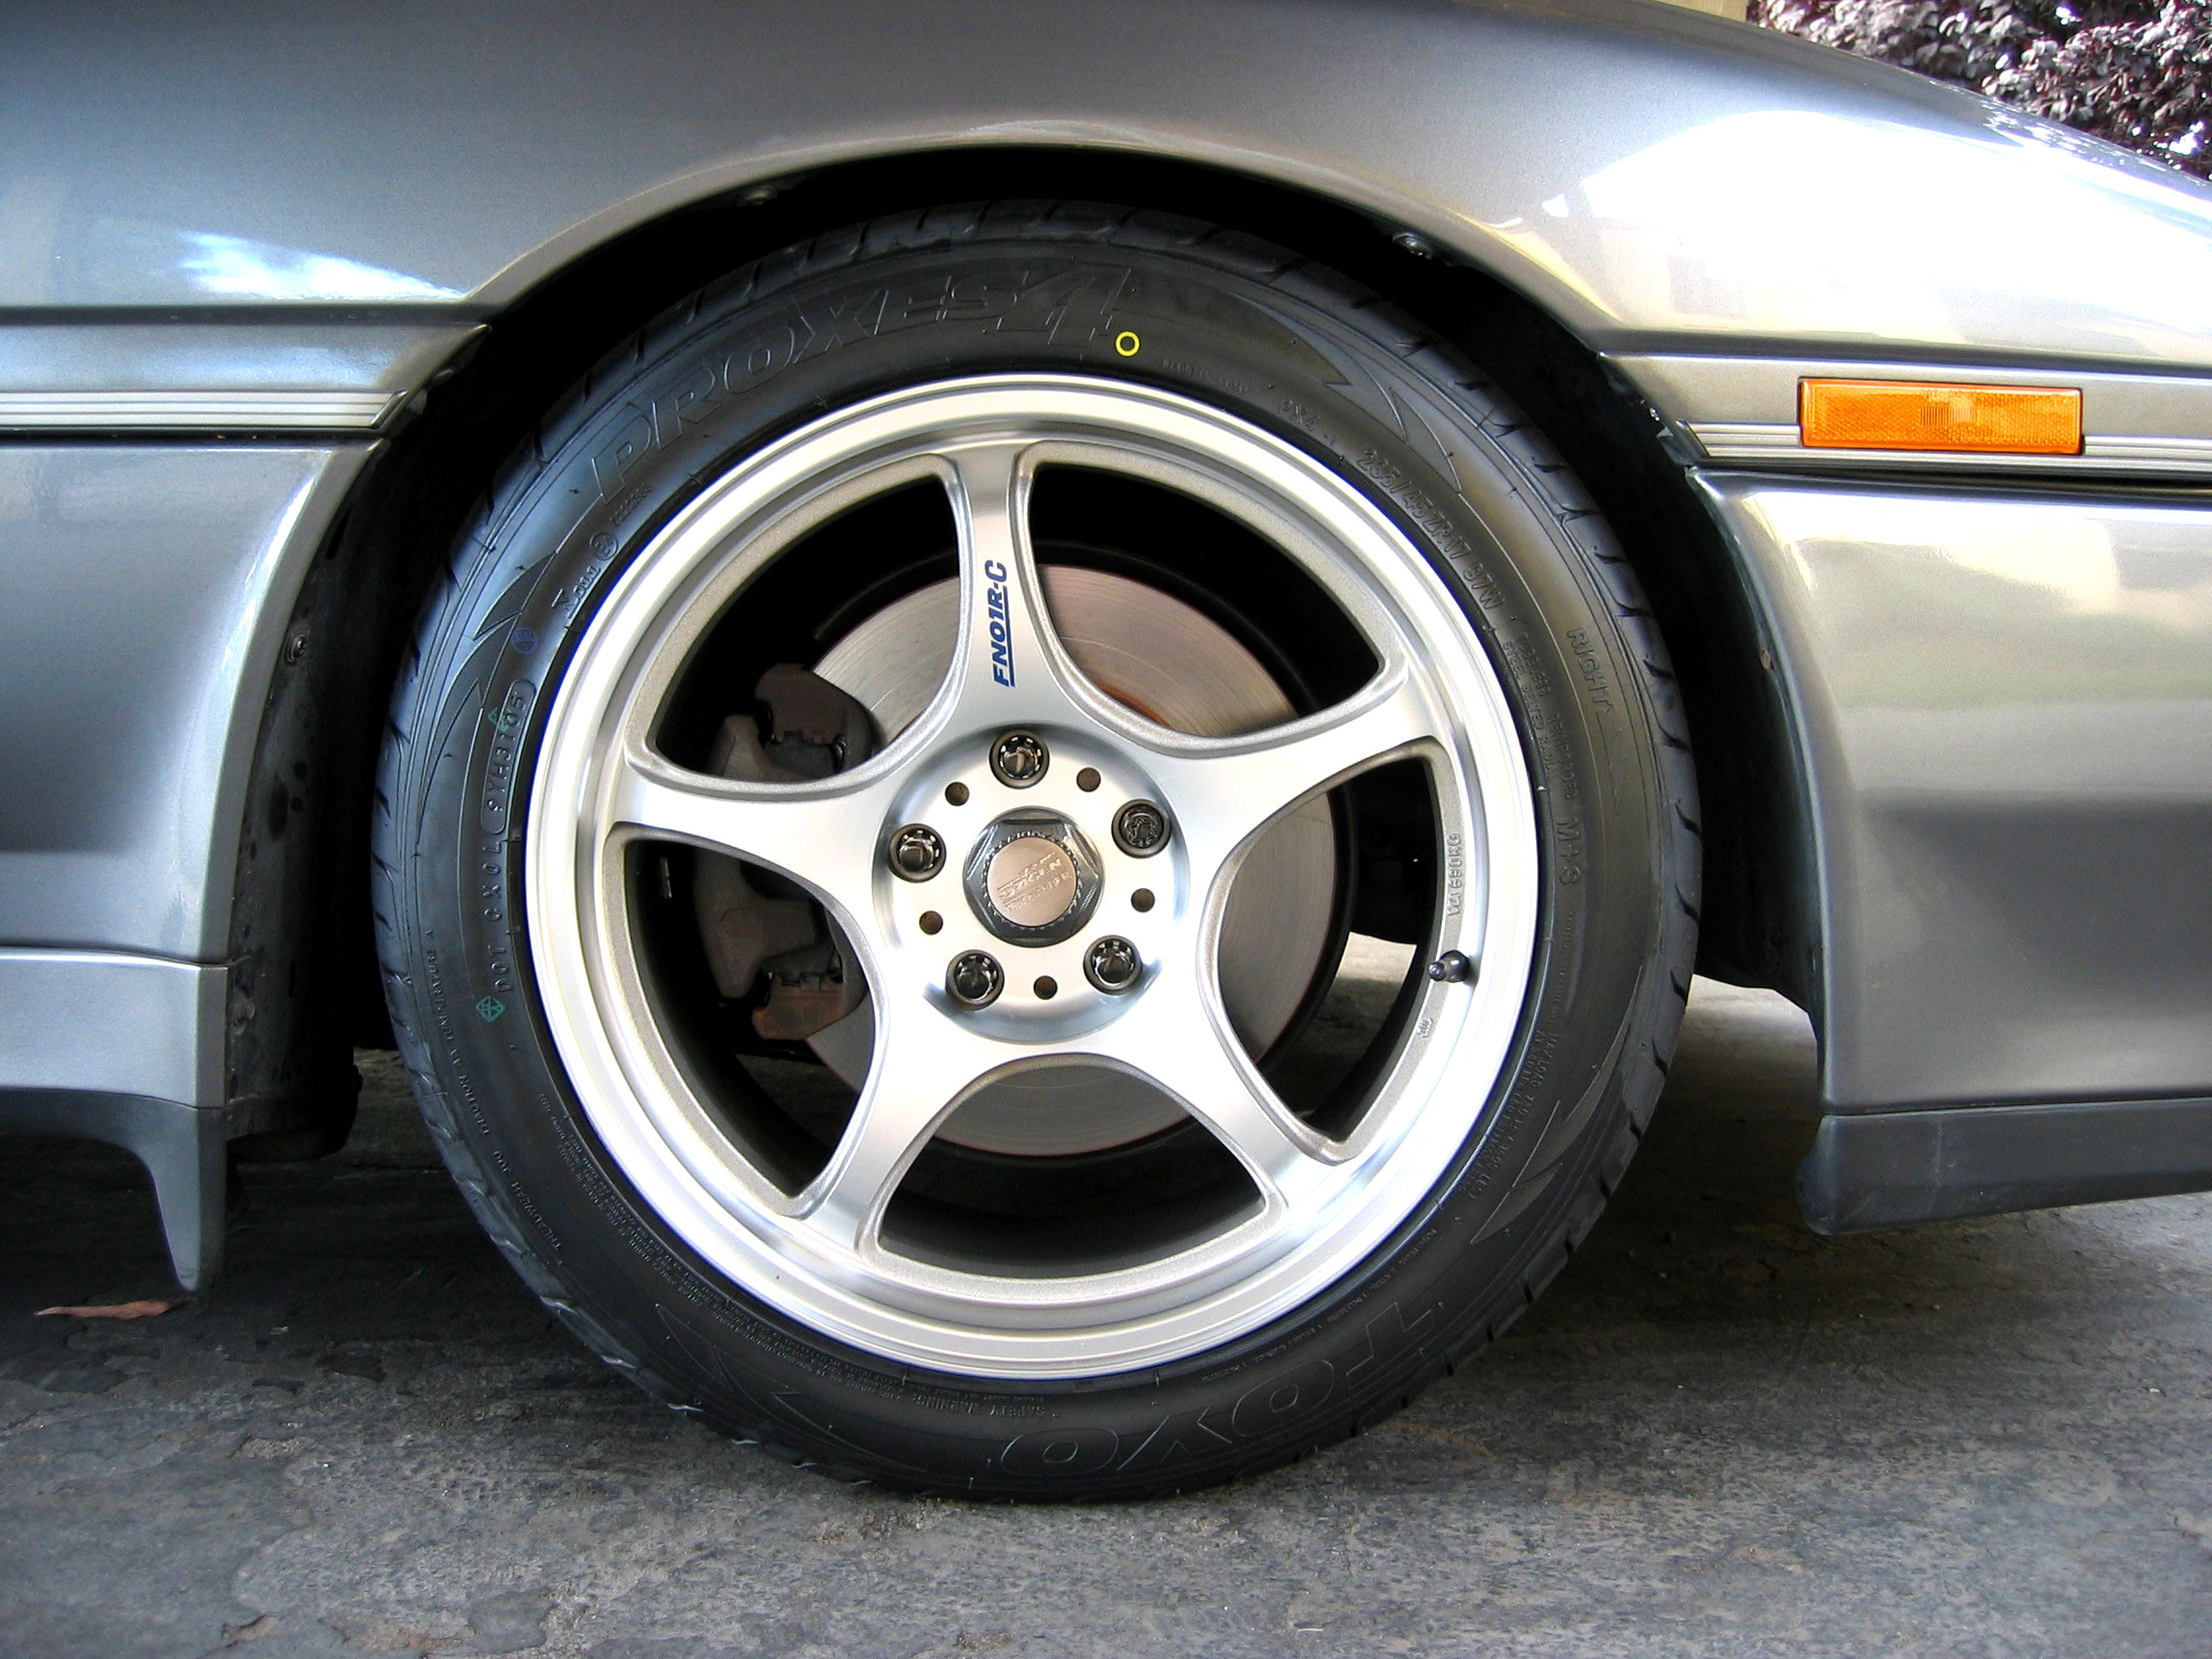
5Zigen FN01R-C 17x8 Rims 43mm 5x114.5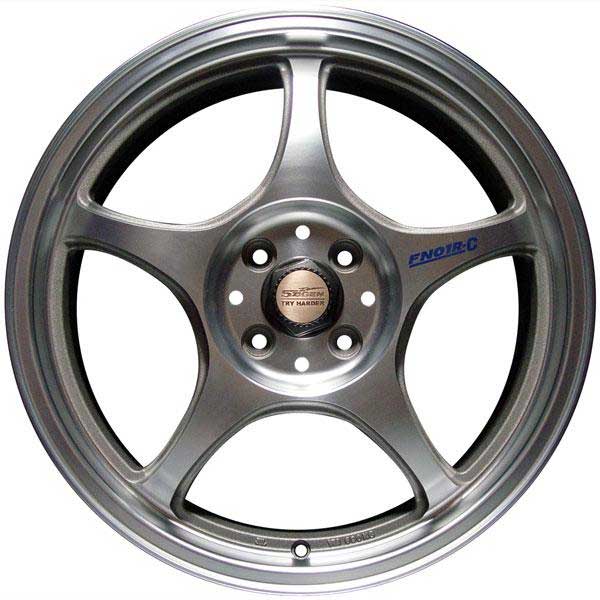
|
Cleaned-up Rear Upper A-Arm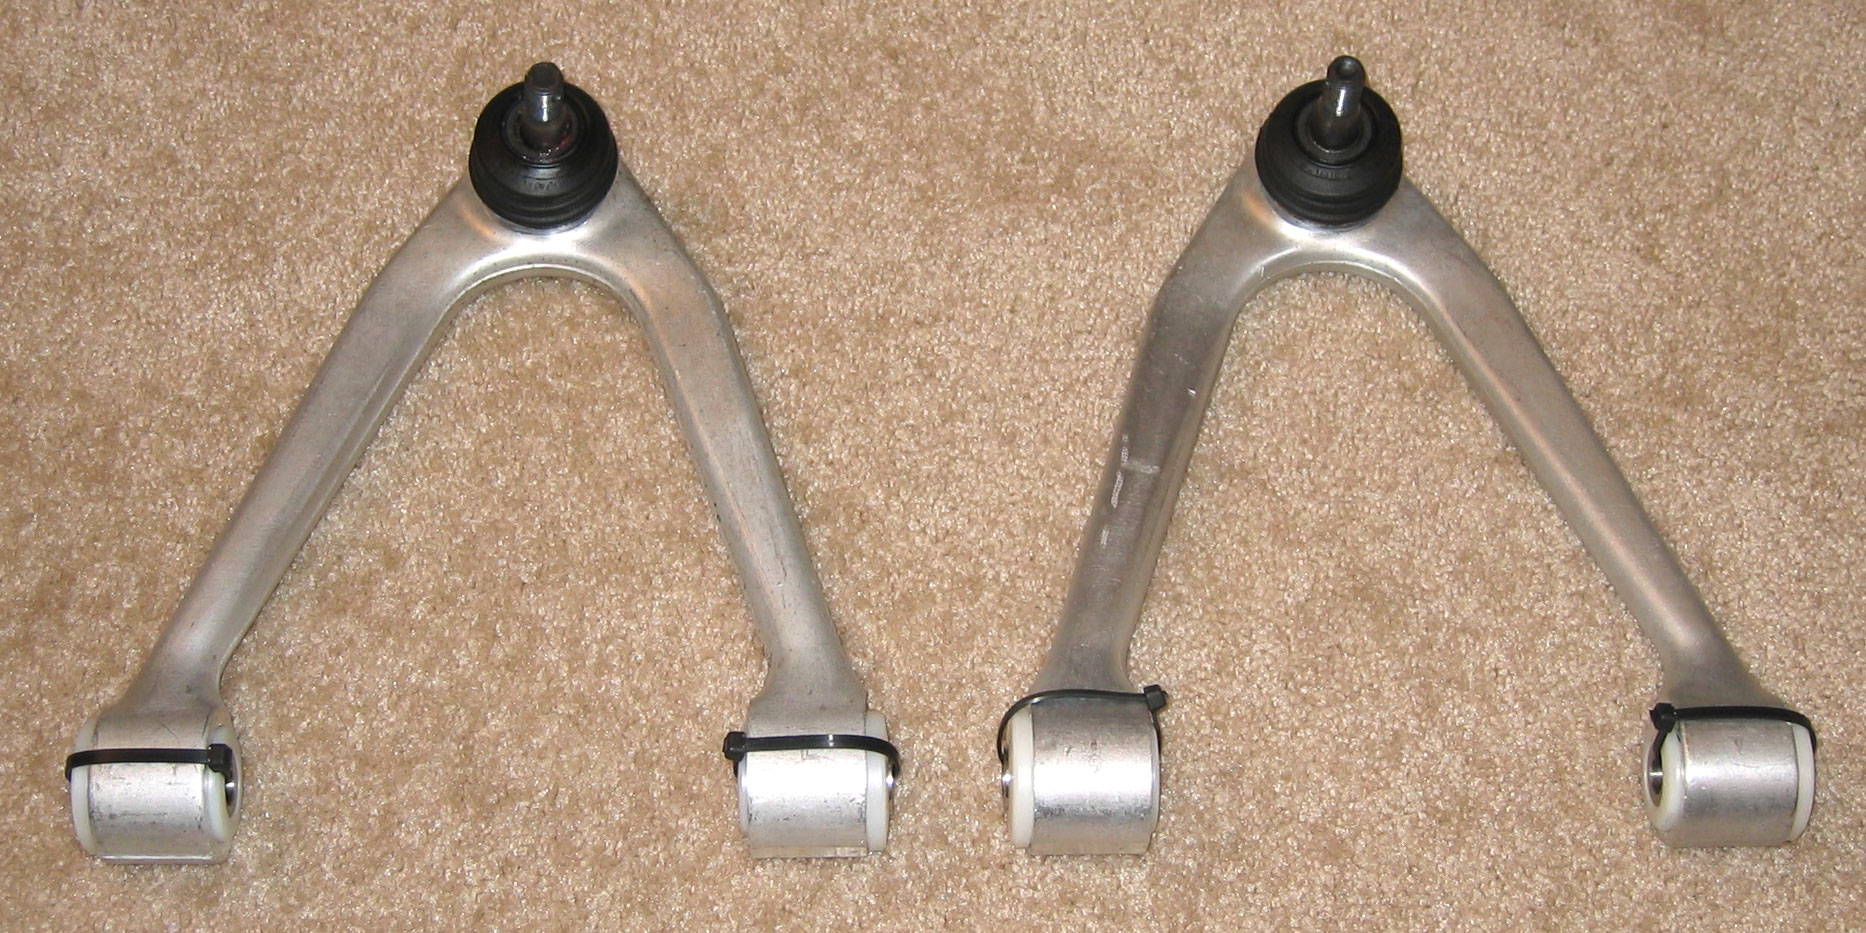
|
Toyo Proxes 4 235/45R17 Tires
|
Tein Flex Coilovers DST38-61SS1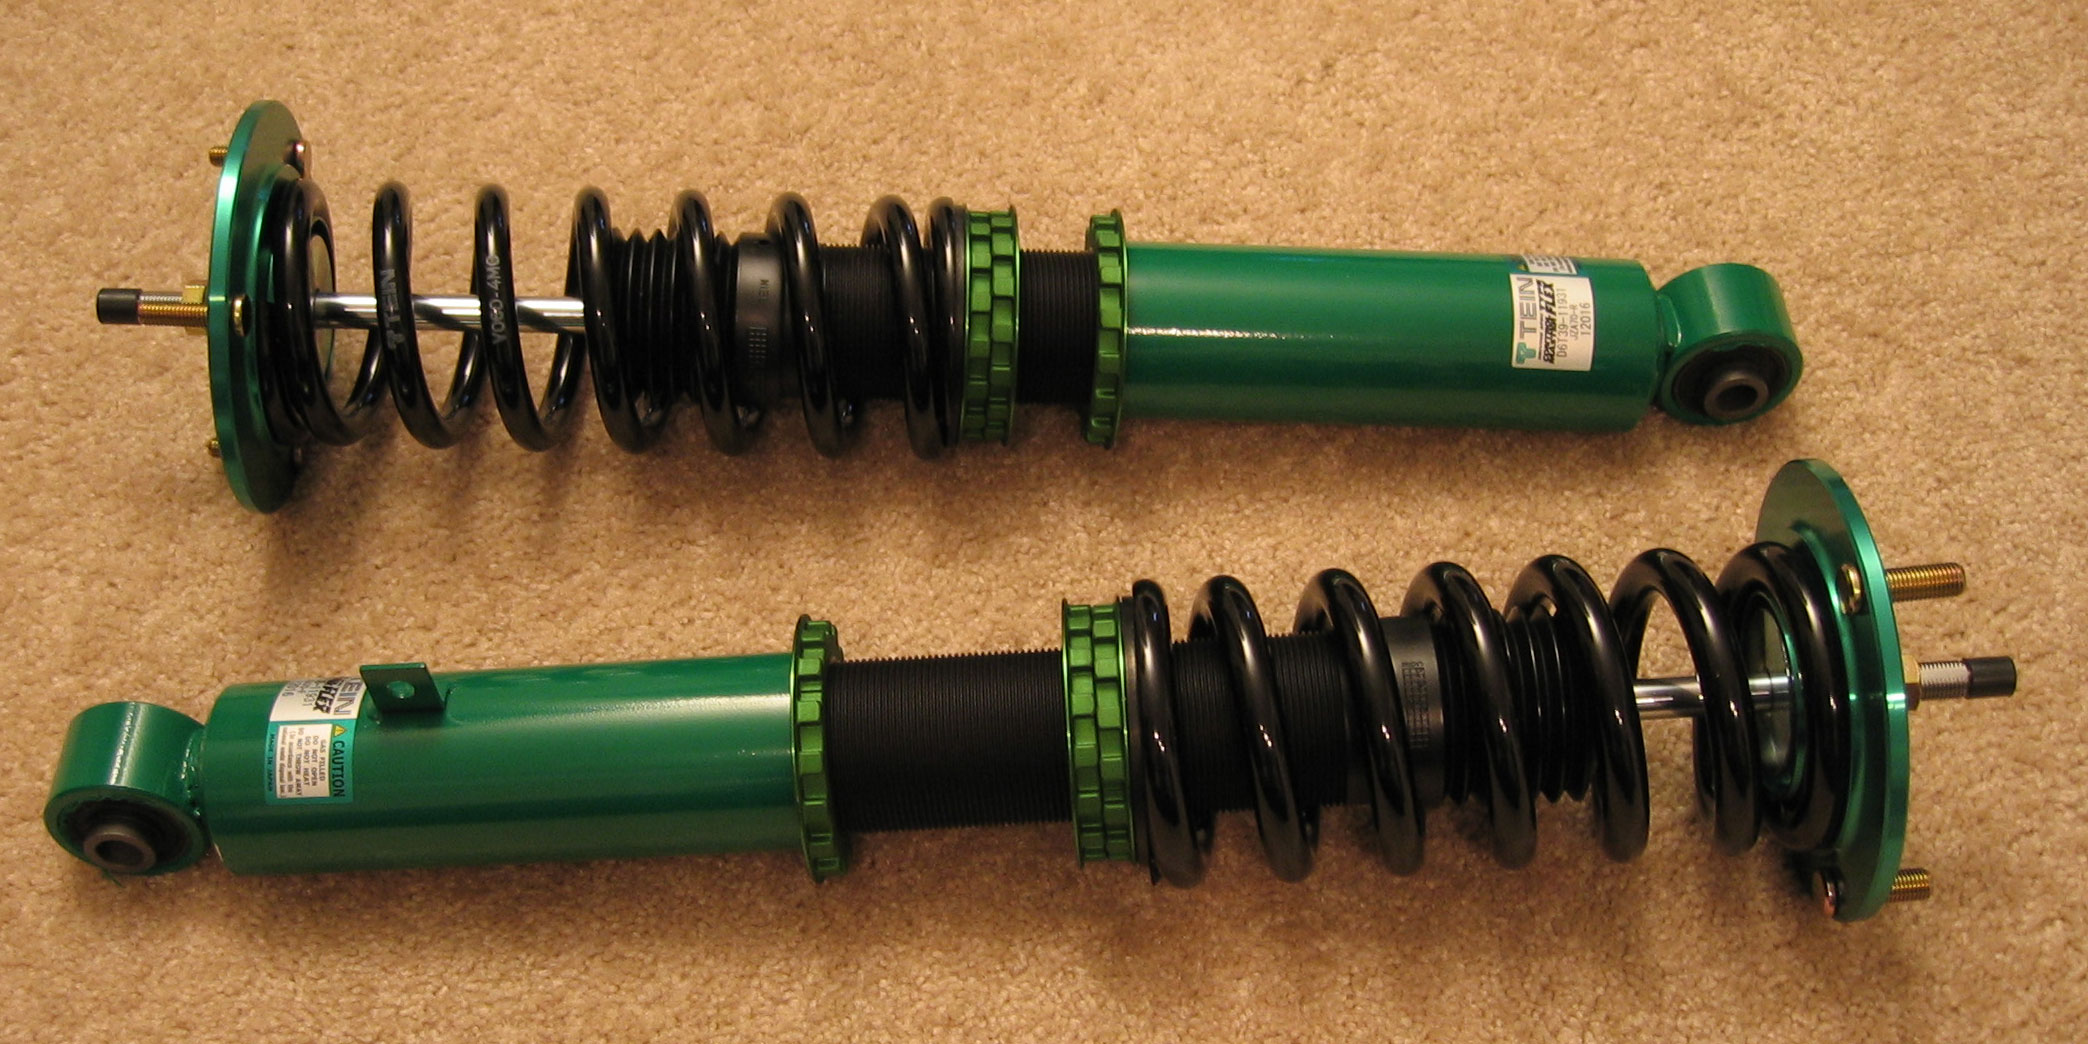 |
Mcmaster Carr Grease 1391K1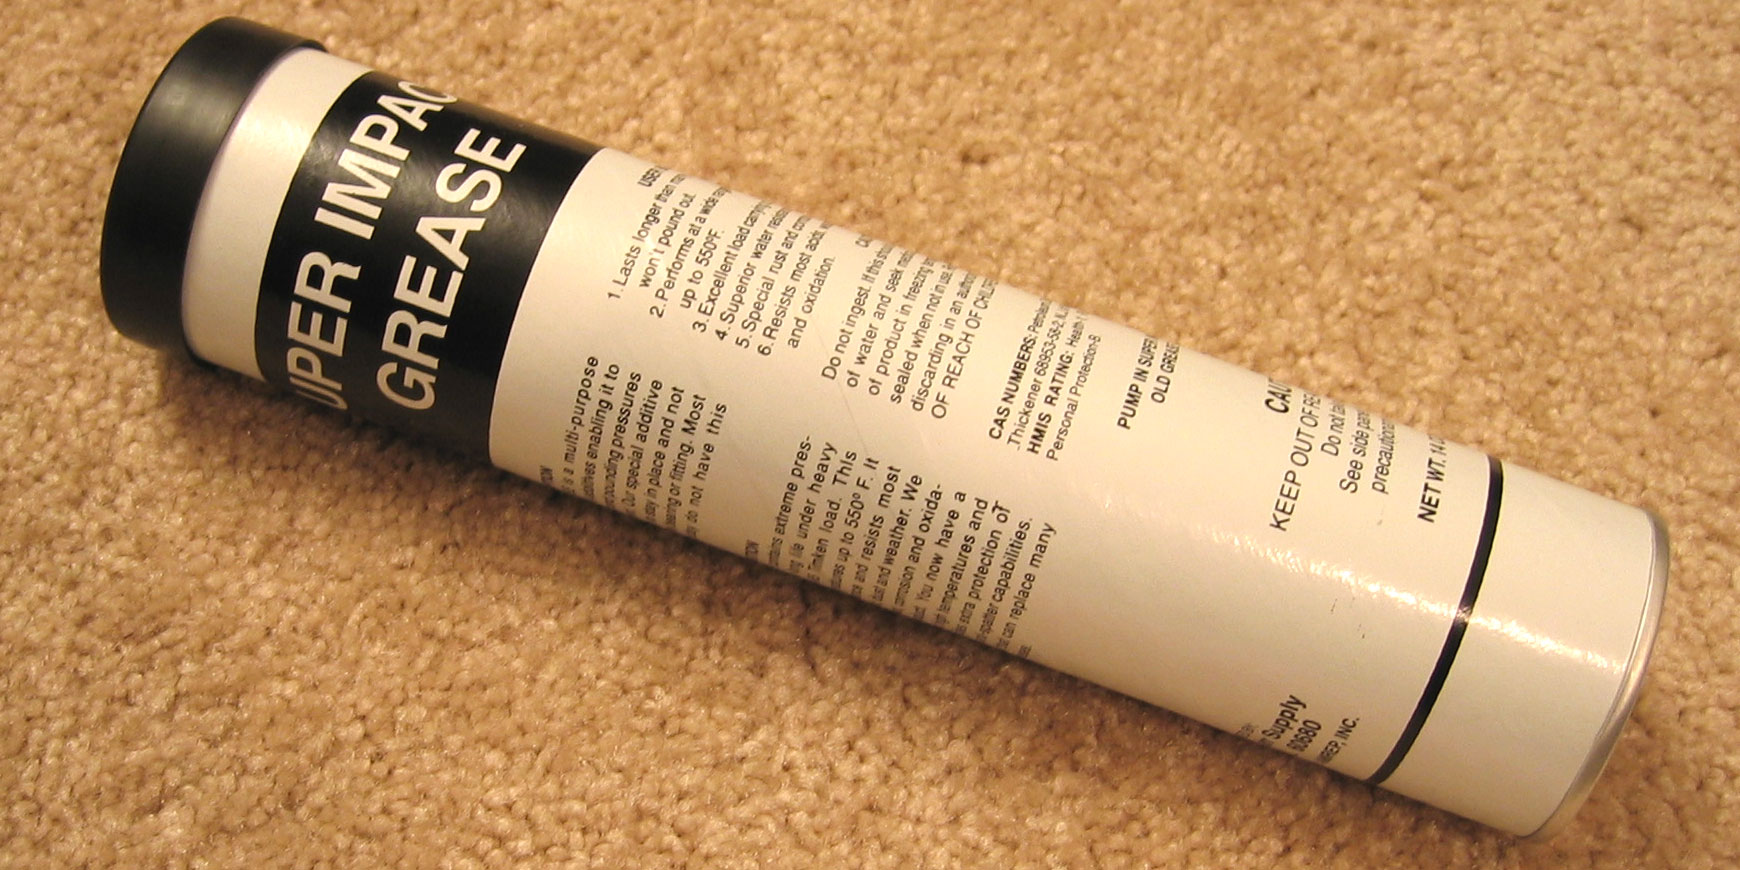
|
Stuff I was too lazy to photograph:
|
| Item | Rot | UnSp | Sp | Weight Before | Weight After |
|---|---|---|---|---|---|
| Tires | X | X | 10909g | 10659g | |
| Rims | X | X | 9866g | 8165g | |
| Lug Nuts | X | X | 1985g | 672g | |
| Front Shocks, Springs and Perches | X | 13150g | 11909g | ||
| Front Lower A-Arms (with bushings & ball joints) | X | 16050g | 15545g | ||
| Front Upper A-Arms (with bushings & ball joints) | X | 2970g | 2963g | ||
| Rear Shocks, Springs and Perches | X | 12200g | 10818g | ||
| TEMS Control Hardware | X | 2176g | 0g | ||
| Spare tire (Different diameter would fry LSD) | X | 21591g | 0g | ||
| TOTAL | 90897g | 60731g |
So a total of 7.2lb of rotational mass and 14.1lb of unsprung mass reduced. Not bad when upgrading to better shocks/springs and wider tires of greater internal diameter. Total mass lost is 66.5lb I am also changing so unrelated things at this time which will drop be another 25lb, so it is a decent loss. I will put the spare back in for long trips, but I don't need it around town.
Wheels and Tires:
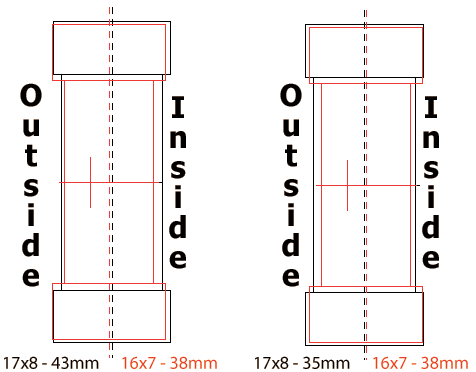
I first started searching for the cheapest price on the rims I picked, mostly for their very light weight vs price. I only wanted to go 17x8 so I could fit matching tires all-round. I basically wanted to be able to rotate them. After finding the cheapest place for rims and another for tires then trying to find a place to install them I happened across the "Wheel Warehouse" and called them. They wouldn't give prices out over the phone but said they will match other peoples price. They also sold the tires I was looking for and did alignments. It actually turned out they their prices were cheaper than the cheapest place I found and hugely more convenient having it done all in one place. The people there were also very nice and they have a huge selection. For those of you in So Cal, they are in Anaheim, looking for rims or tires, I would recommend them highly. Call 714-772-1281 x5121 and ask for Brian Archer. After everything was put together I was very pleased with the results. The feel of these tires is very nice and not much rougher than the stock ones. The 43mm offset do sit a tiny bit inside, but I think with how much I have my car lowered, I need this to prevent rubbing. The 35mm might work but it would close. For reference, with the 235's on there the outside edge of the tire is at the same location as the stock 225's:
| Rim | Tire | Offset | Inner Tire Edge |
Outer Tire Edge |
Inner Rim Edge |
Outer Rim Edge |
 |
| 16x7 | 225/50-16 | 38mm | -stock- | -stock- | -stock- | -stock- | |
| 17x8 | 235/45-17 | 43mm | +10.0mm | -stock- | 17.7mm | +7.7mm | |
| 17x8 | 235/45-17 | 35mm | +2.0mm | +8.0mm | 9.7mm | +15.7mm |
Where a positive size means it extends that much further. So for the 17x8 with 43mm offset the inner edge extends 2mm further than the stock tire and the outer edge extends 8mm further than the stock tire. The diagram shows how the tires compare when mounted. Those of you with wider tires or different brakes will have other considerations to take into account. I'll let you worry over those items. Something to consider, as offset increases the tire moves towards the car.
Ride Quality: Ironically the feel with the TEIN Flexes, Nylon Bushings and wider lower profile tires is quite close to stock. The roads here aren't that rough, but I could easily handle this on a long ride. And the S.O. says she doesn't notice a difference. One thing that helped was keeping the unsprung weight down, actually reducing it. If you get heavy rims and tires then your ride will get rougher so keep that in mind.
Install Instructions
| 1. |
There weren't many surprises other than the ball joints took an air hammer with a pickle fork to remove and the drivers tie rod was frozen. I didn't actually get to do the back bushings because the instructions called for the removing of the axle shaft, and we really didn't want to get into that. So some time in the future I will do that set.
|
| 2. | Front Shocks: TSRM |
| 3. | Front Bushings: TSRM |
| 4. | Rear Shocks: TSRM |
| 5. | Rear Bushings: TSRM |
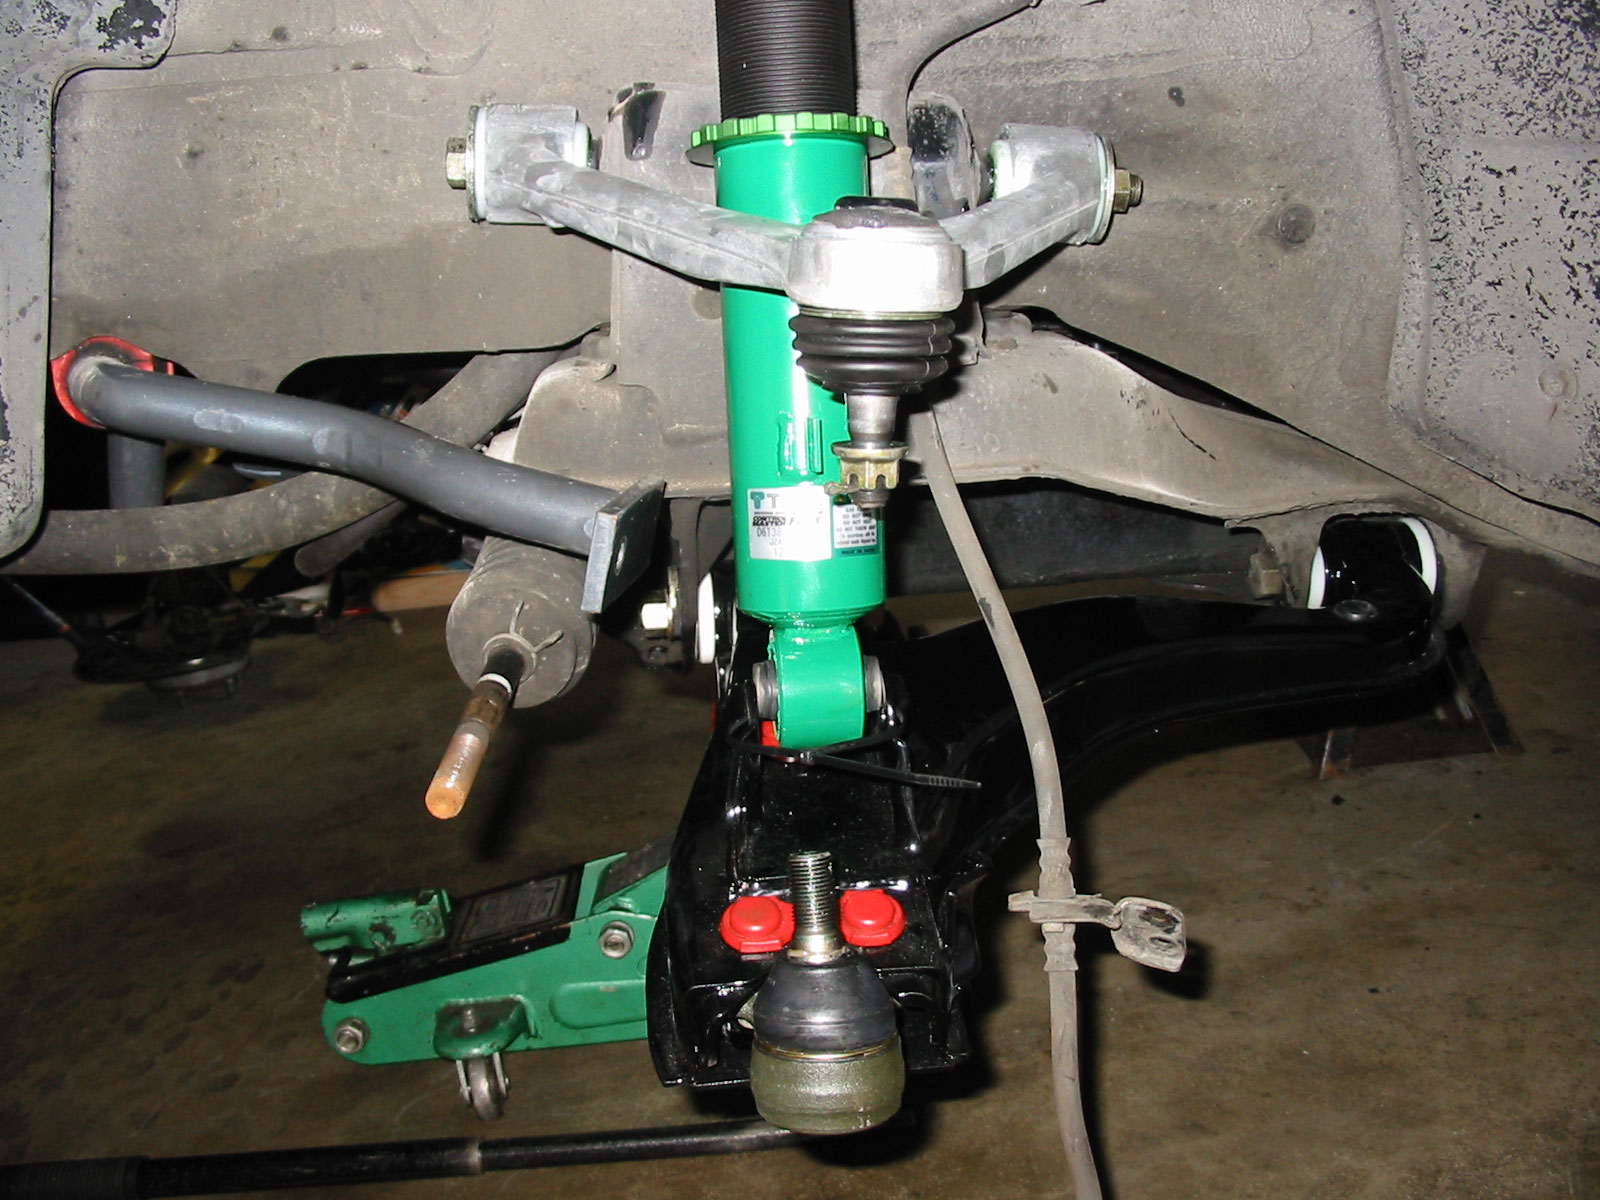 |
This is a picture of the semi-assembled suspension setup. Here you see the attached upper and lower a-arms with the nylon bushings. The TEIN Flex coilovers and the new lower ball joint. On the left you can also see the rusty tie rod and the anti-sway bar. |
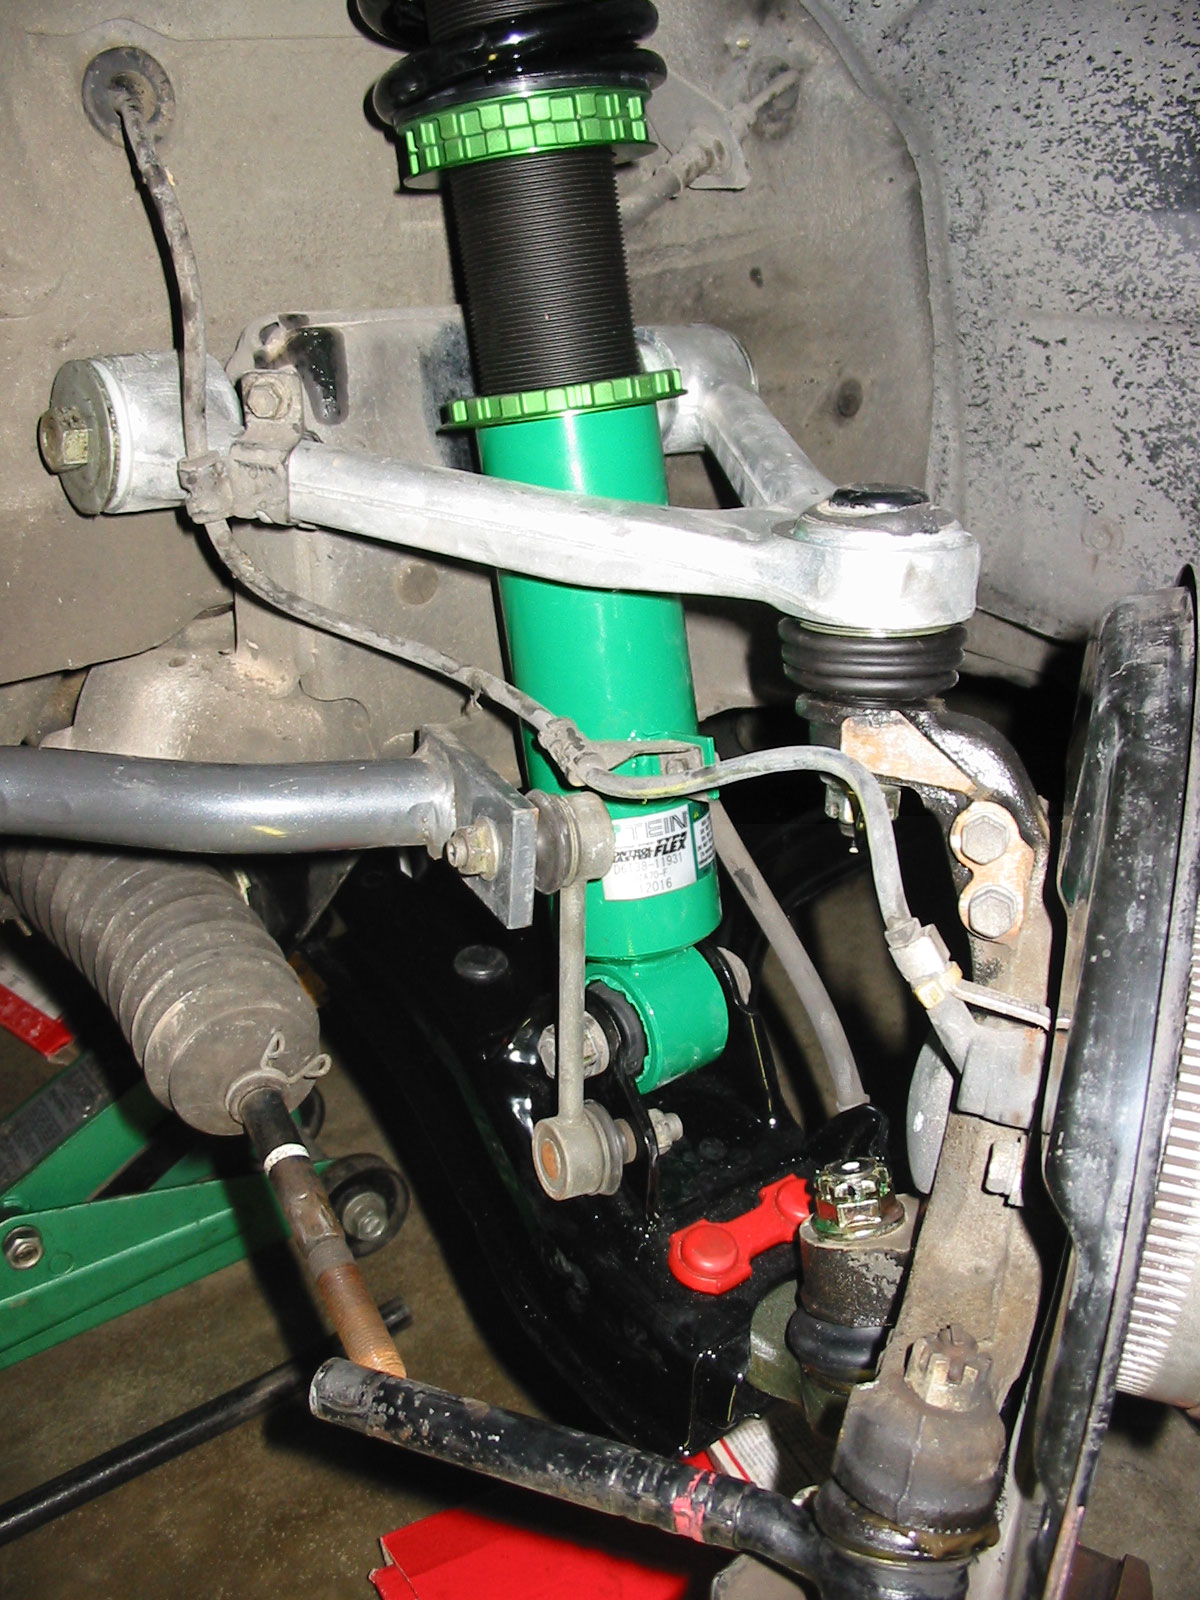 |
Now almost everything is connected together again. The shock is attached to the lower a-arm, and the hub is on. The ABS wire is reinstalled. The sway bar is also reconnected. The only thing not connected it the tie-rod. This was left until last so we could maneuver the hub around to get to things easy. By the time you make it here you are almost done. |