| Side Wing Parts: | 2x 90467-09075 Front Clip | |
| 2x 90467-08064 Rear Clip | ||
| 2x 90560-06027 Rear Spacer | ||
| 2x 76889-14020 Front Pad | ||
| 2x 90999-91055 Inside Rubber Strip | ||
| 2x 90999-91056 Outside Rubber Strip | ||
| Spoiler Parts: | 1x 76872-14050 Center Tip Pad | |
| 1x 76895-14030 Center Rubber Pad | ||
| 1x 90540-20001 Wiring Cushion | ||
| 2x 90999-91053 Rear Strip | ||
| 2x 90999-91055 Inside and Front Strip | ||
| 2x 90999-91055 Outside Strip |
Instructions
| 1. |
Remove the plastic trim Remove the rear plastic pieces on both sides of the interior. Mostly because the barbs that hold in the wing side pieces are troublesome and this makes getting to them much easier. Also remove the plastic piece on the lift gate. These is attached by a bunch of metal clips and it removed by carefully prying it loose. |
| 2. |
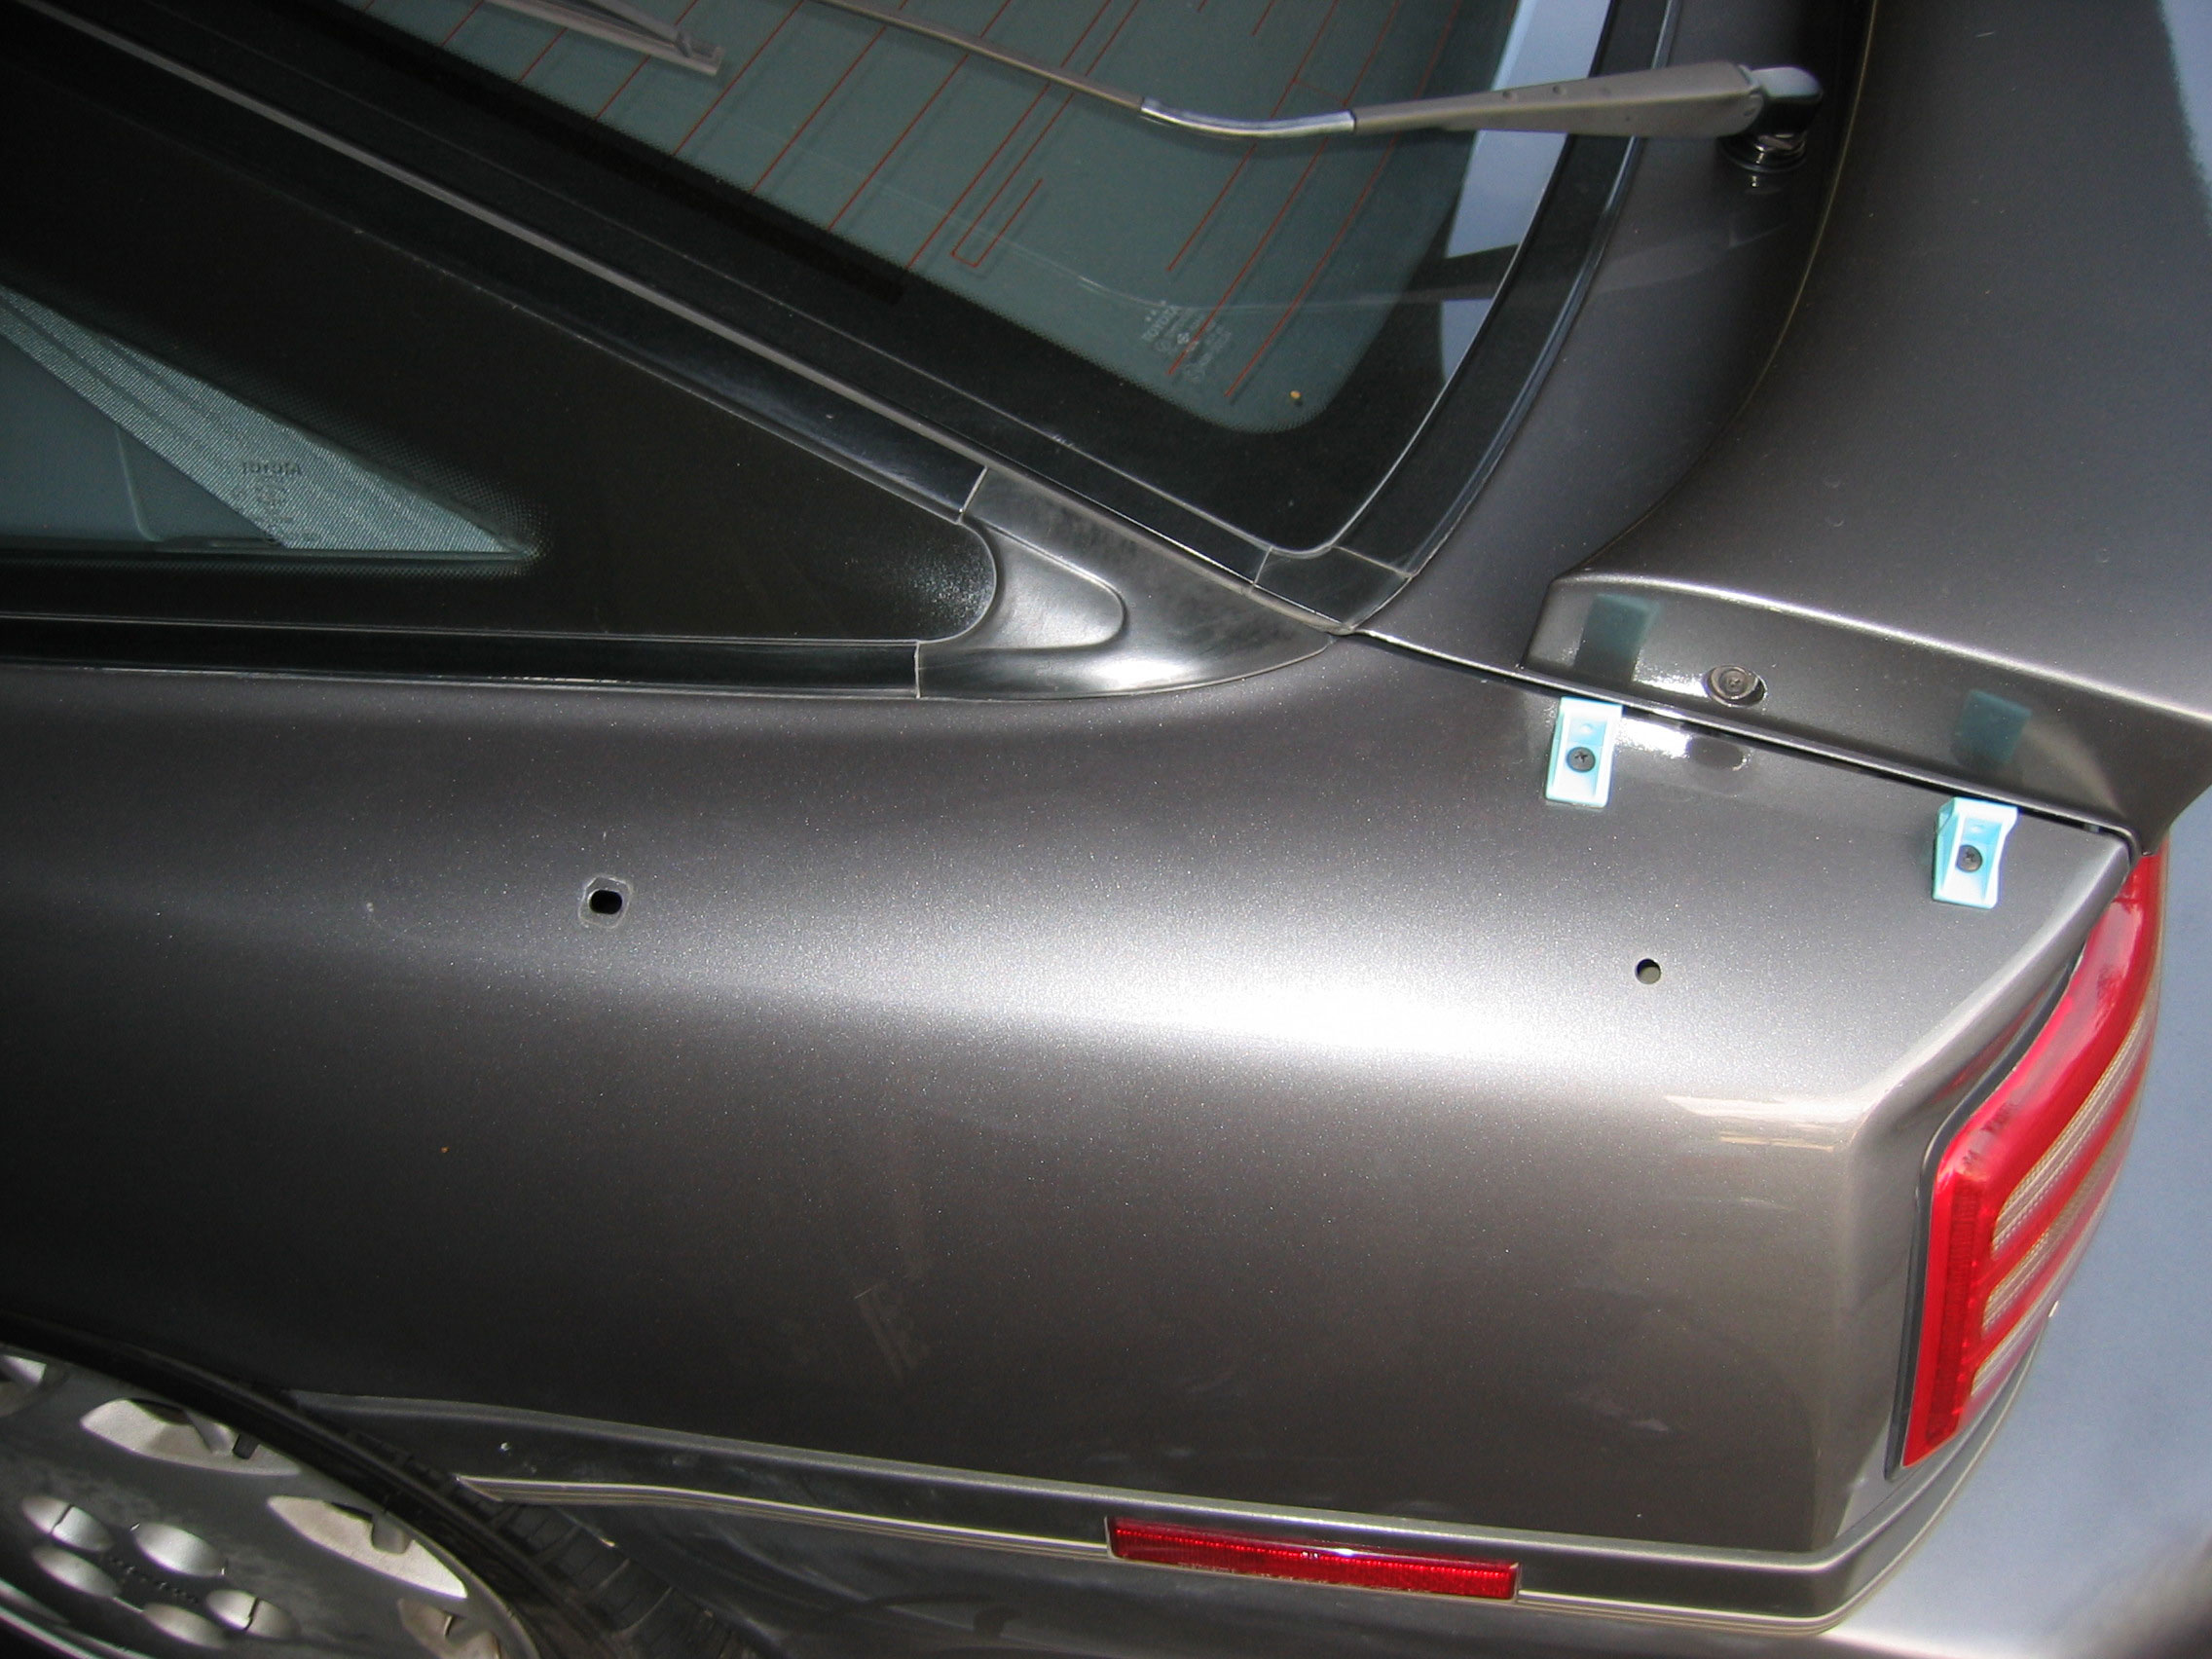 Remove the side wing
From the picture on the right you can see where it is attached in four places. The two screws seen from the outside can be easily removed. Then two barbs are more of a pain. |
| 3. |
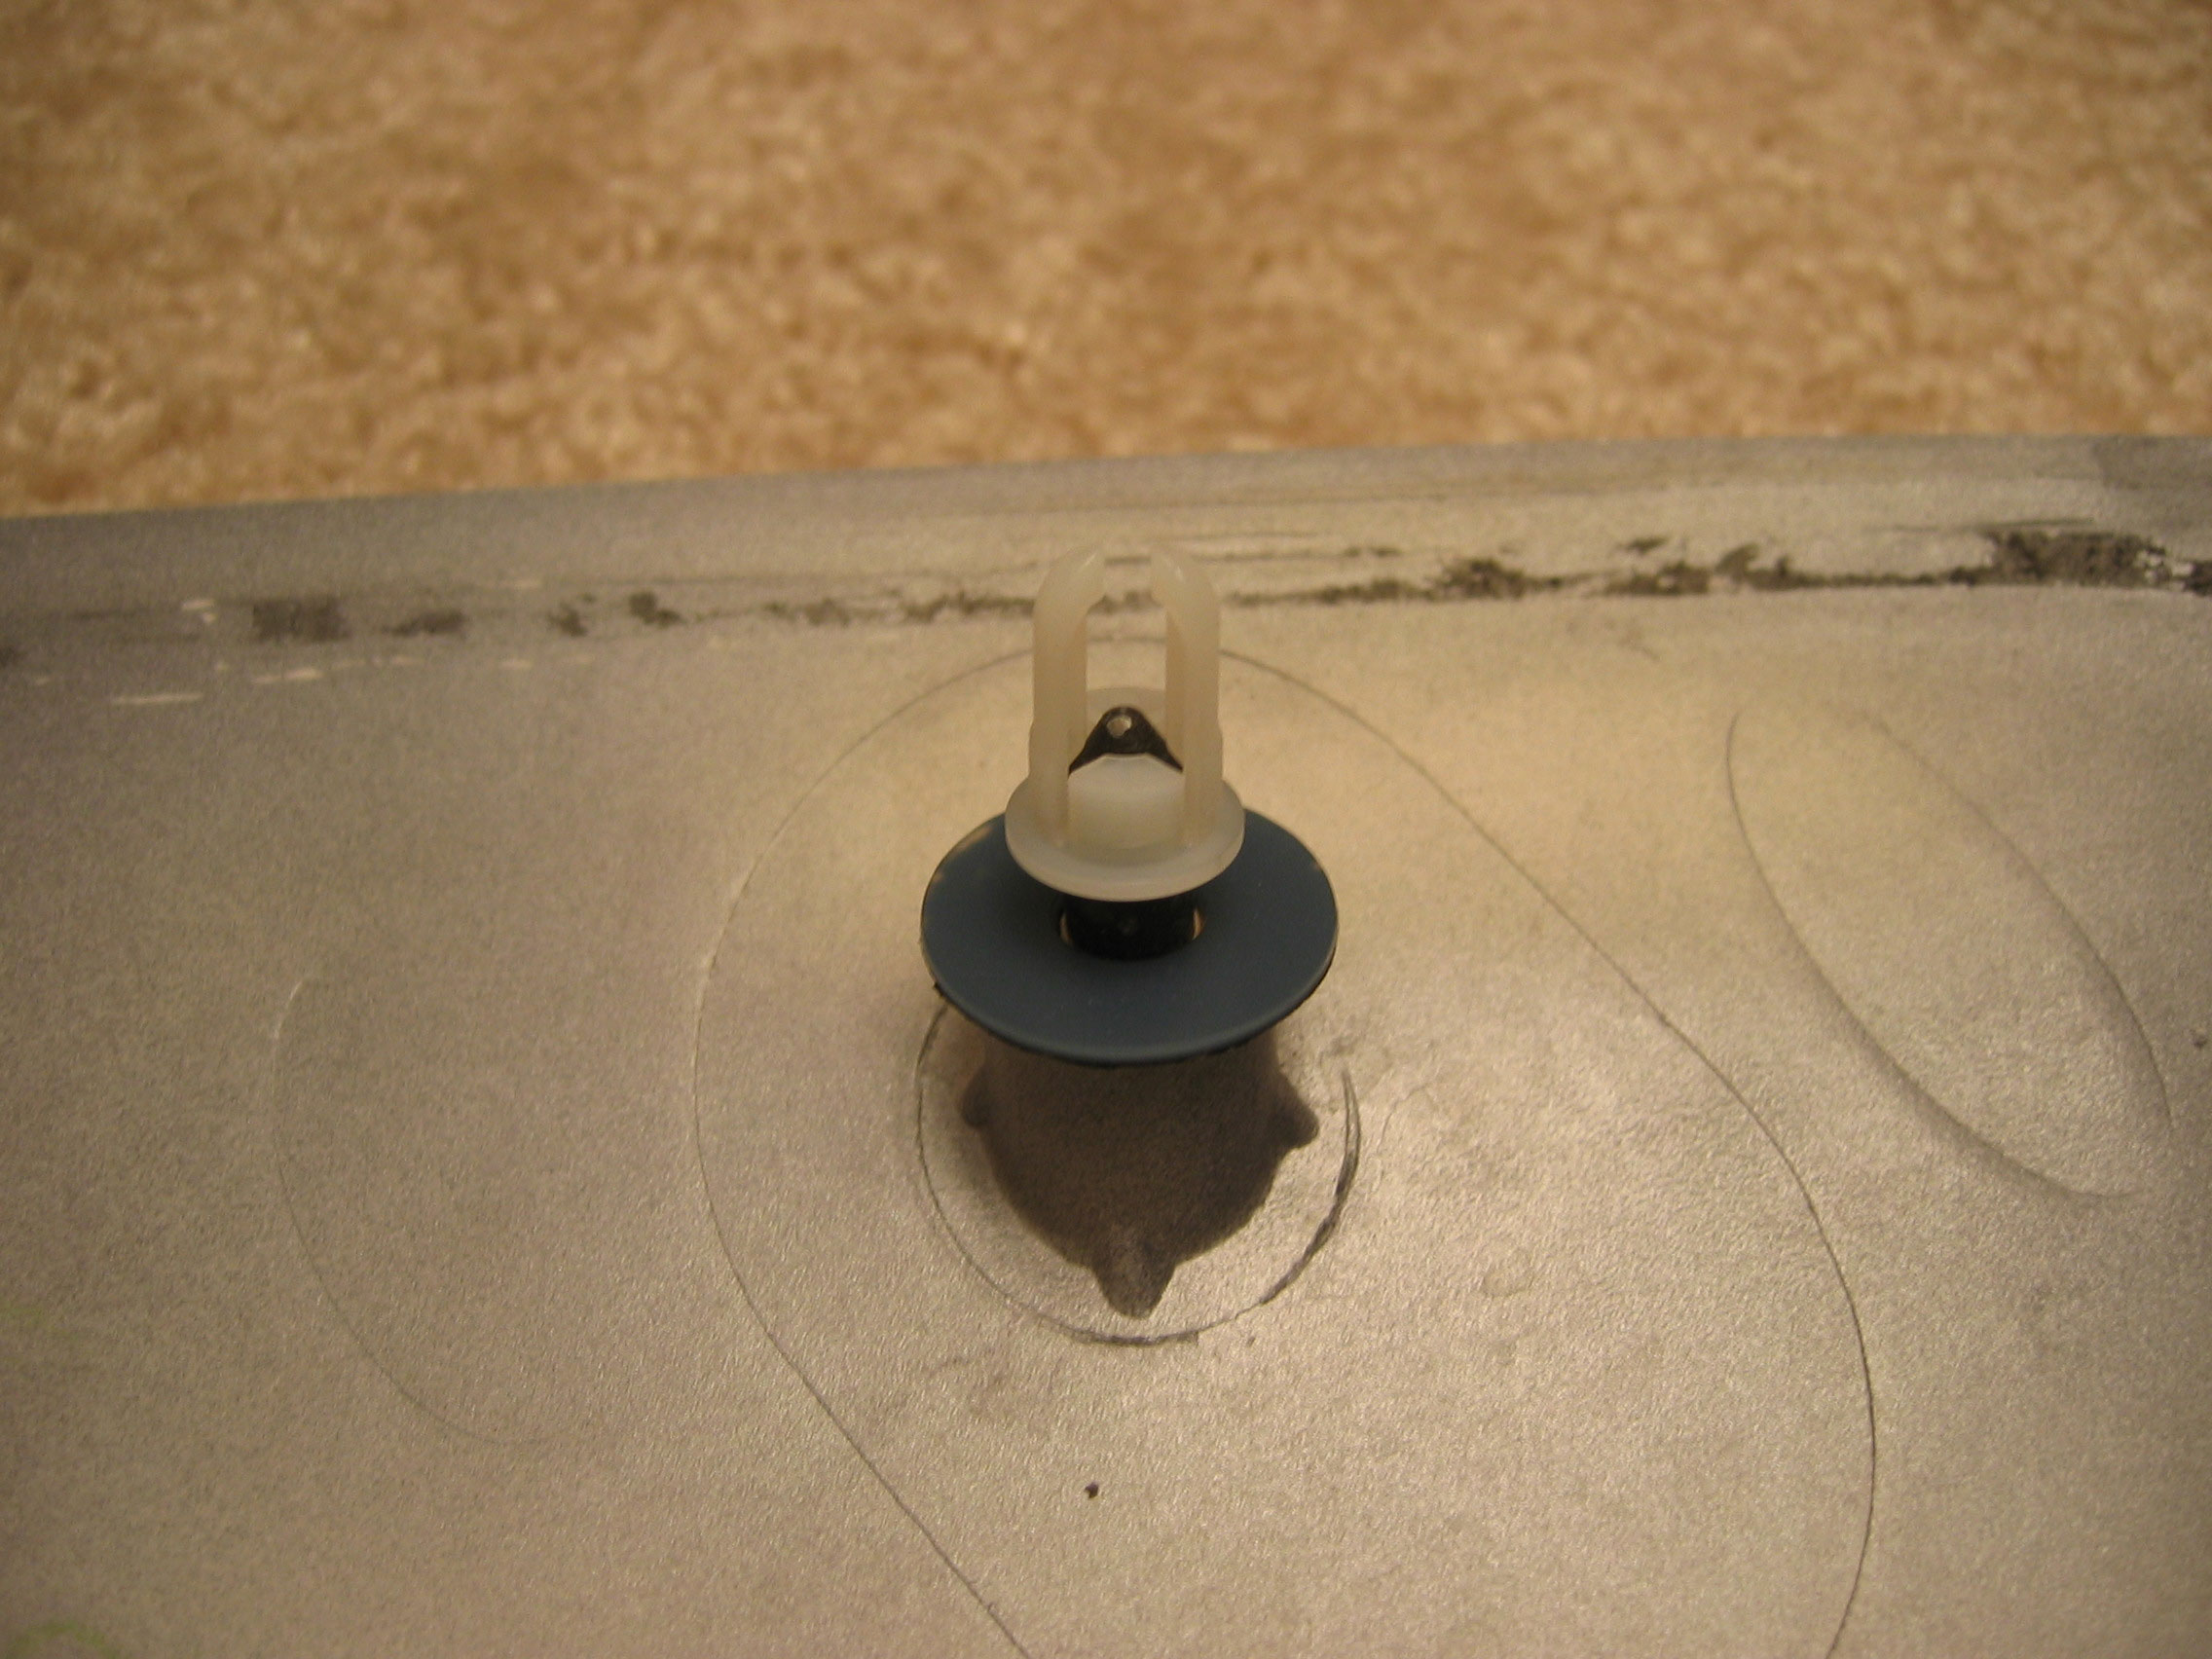 Removing the rear barb
To the right you can see the rear barb and how it fits with the clip. When the barb is pressed into this clip the two wings spread out so it can't be pulled out through the hole. To remove this you can remove those wings so it will again fit though the hole, or pry out the little bits so the barb is no longer attached to the clip. The clip has to pulled out though the top. |
| 4. |
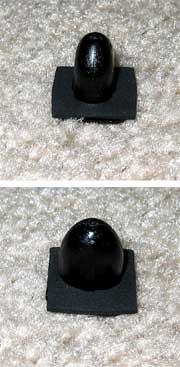 Removing the front barb
 Between the two barbs this was the most difficult for me to remove. You can very very carefully just try to pry the whole thing out, but after taking one out that way and studying how it worked I found a better method. The cap has two tiny hooks on the inside that catch the spoiler barb when it is inserted. I found that if you squeeze the cap on the long side, so on the left and right side of the lower picture, it will let go. If this doesn't work you can try working the whole cap out still connected to the spoiler. Just be careful not to put too much force on the spoiler piece or it could snap. |
| 5. |
Removing the spoiler The spoiler is attached by two screws on the sides, 4 bolts on the spoiler's "feet" and the stickiness that the rubber seals have formed with the body. After you have removed the screws and bolts, whoes positions you can see from the pictures above and below, you should be able to separate the spoiler from the body. Mine took a little coaxing then it popped loose. |
| 6. |
Removing the Wiper Blade To remove the wiper blade lift the cap at the base to expose the small nut. Remove the nut and then maneuver the wiper around until is lets go of the splined shaft. |
| 7. |
Removing the Wiper Motor Using a crescent wrench remove the large diameter nut on the outside of the wiper assembly. Next disconnect the wiring connectors for the spoiler LED and the wiper motor. Then remove the three bolts holding in the wiper motor and remove the motor and the outside dohicky. |
| 8. |
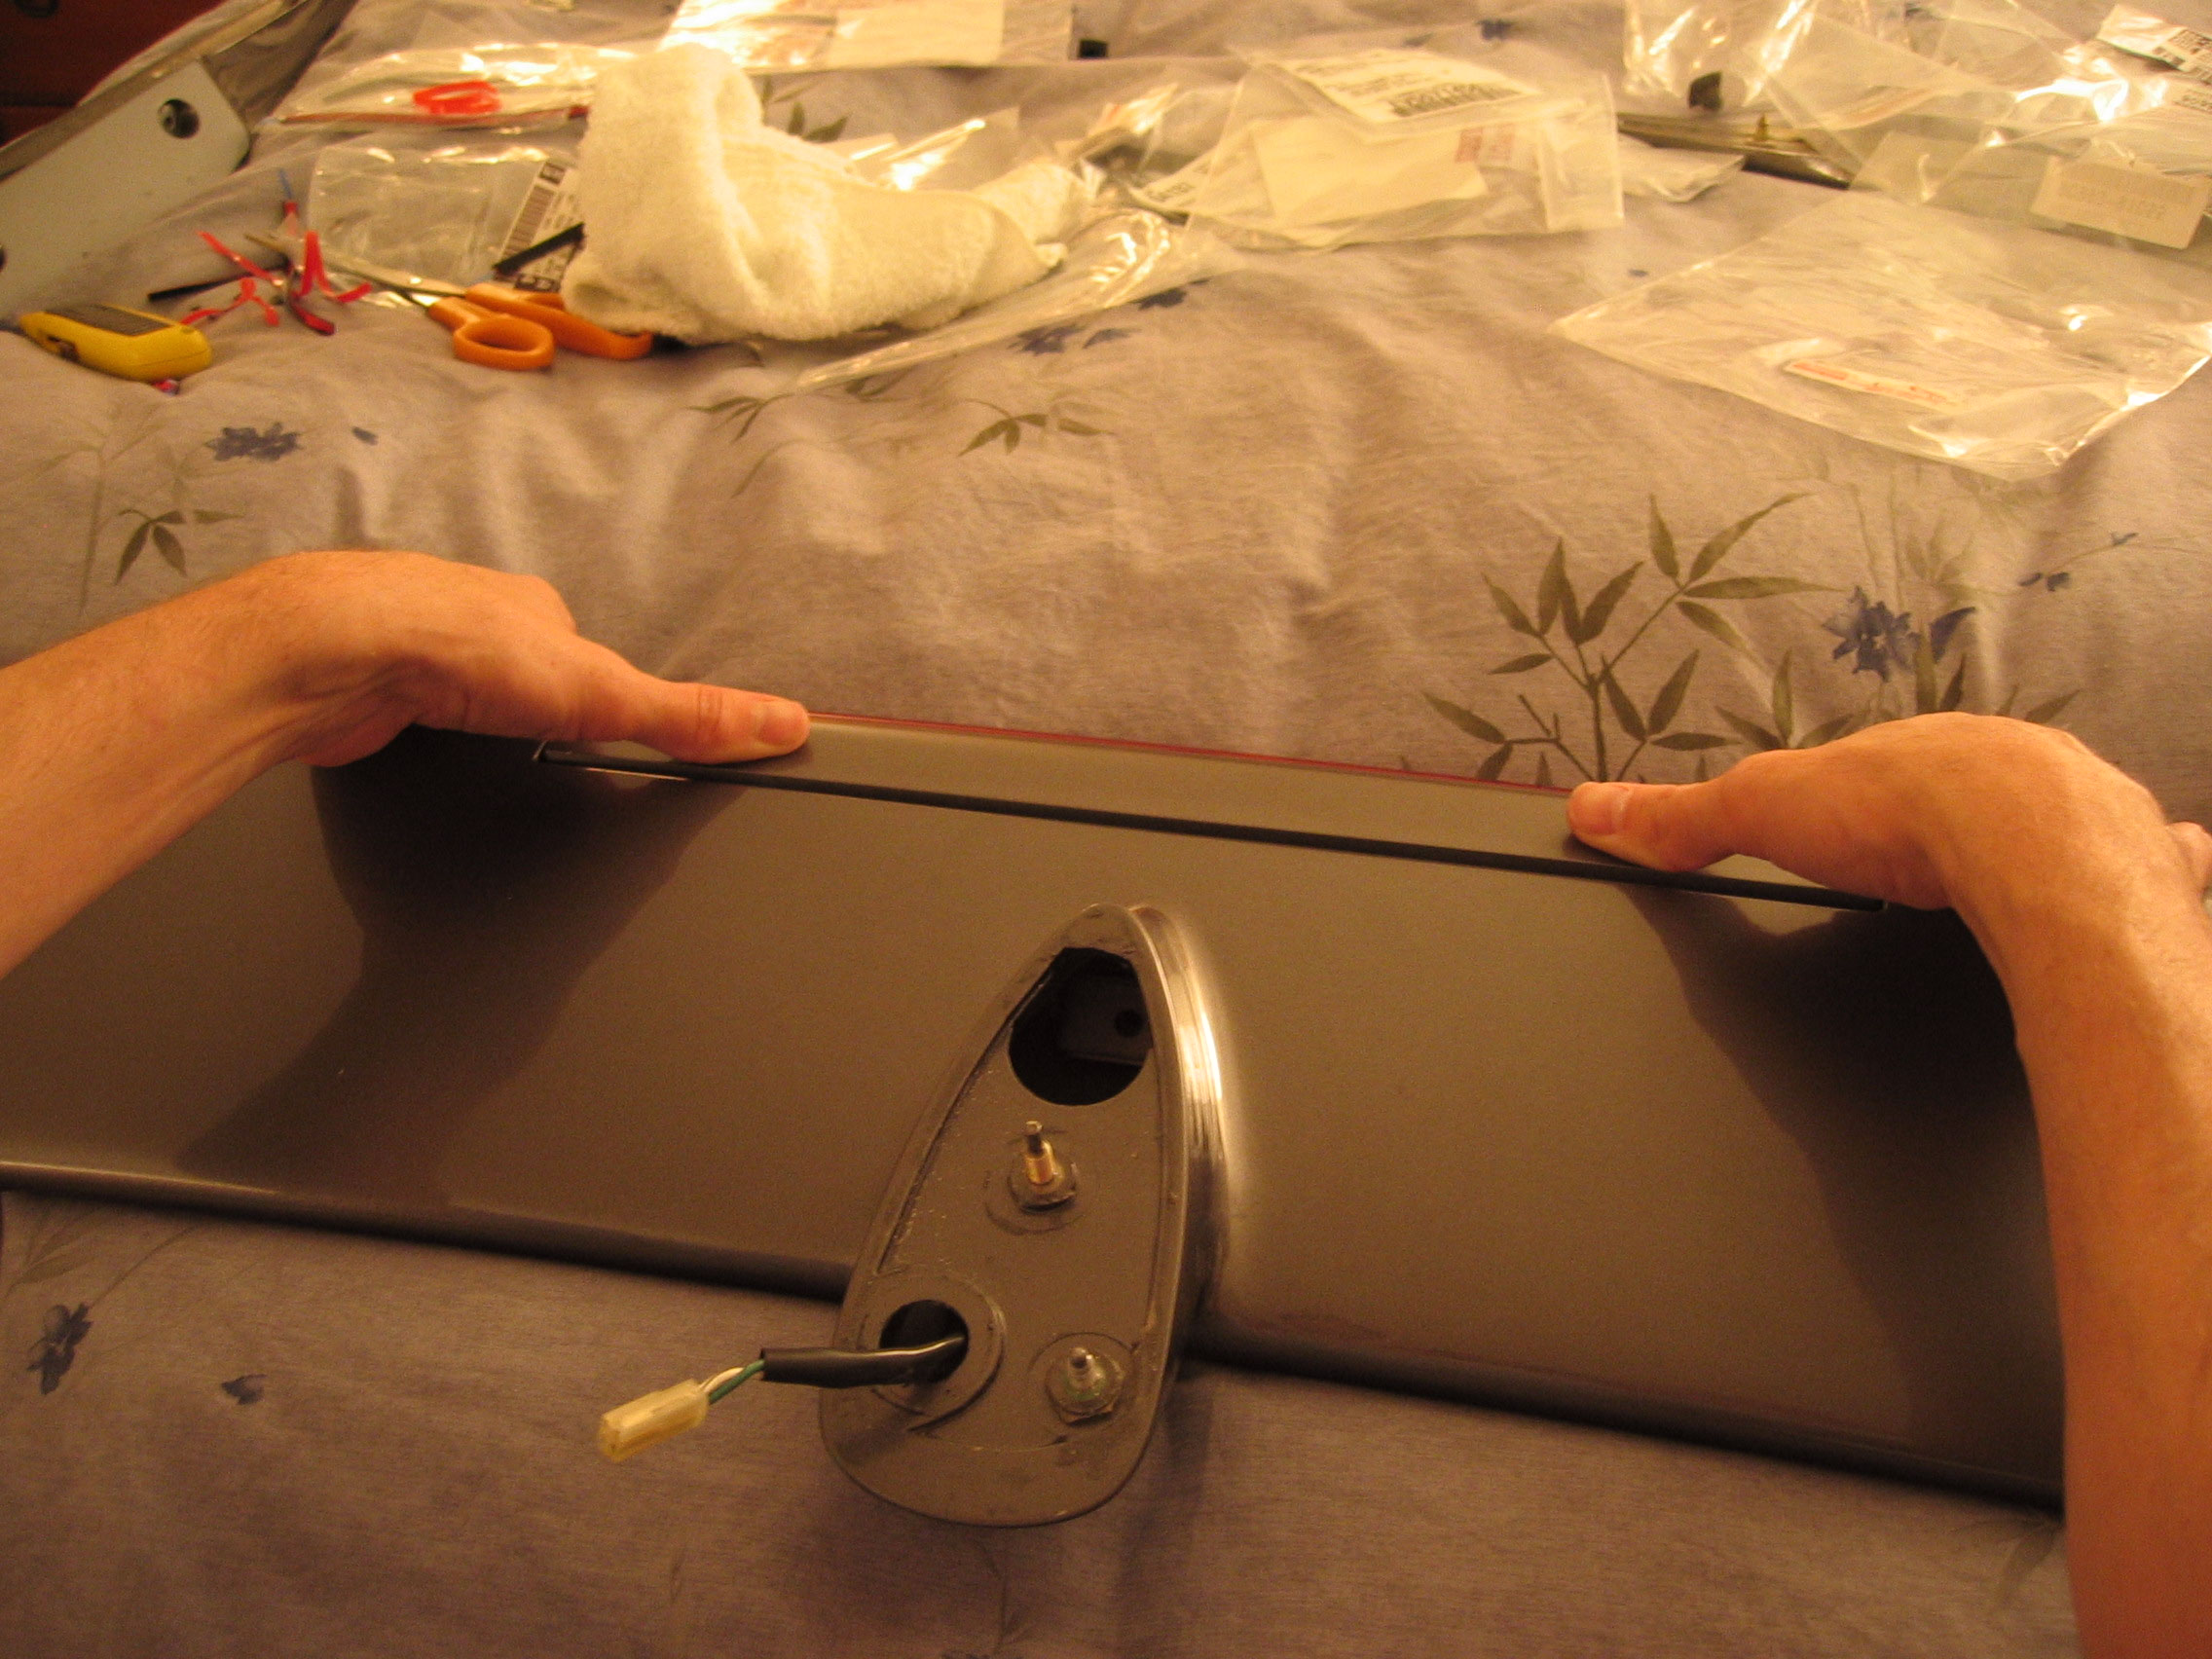 Remove the LED
This is done by using your thumbs to gently press the LED bar down and out. |
| 9. |
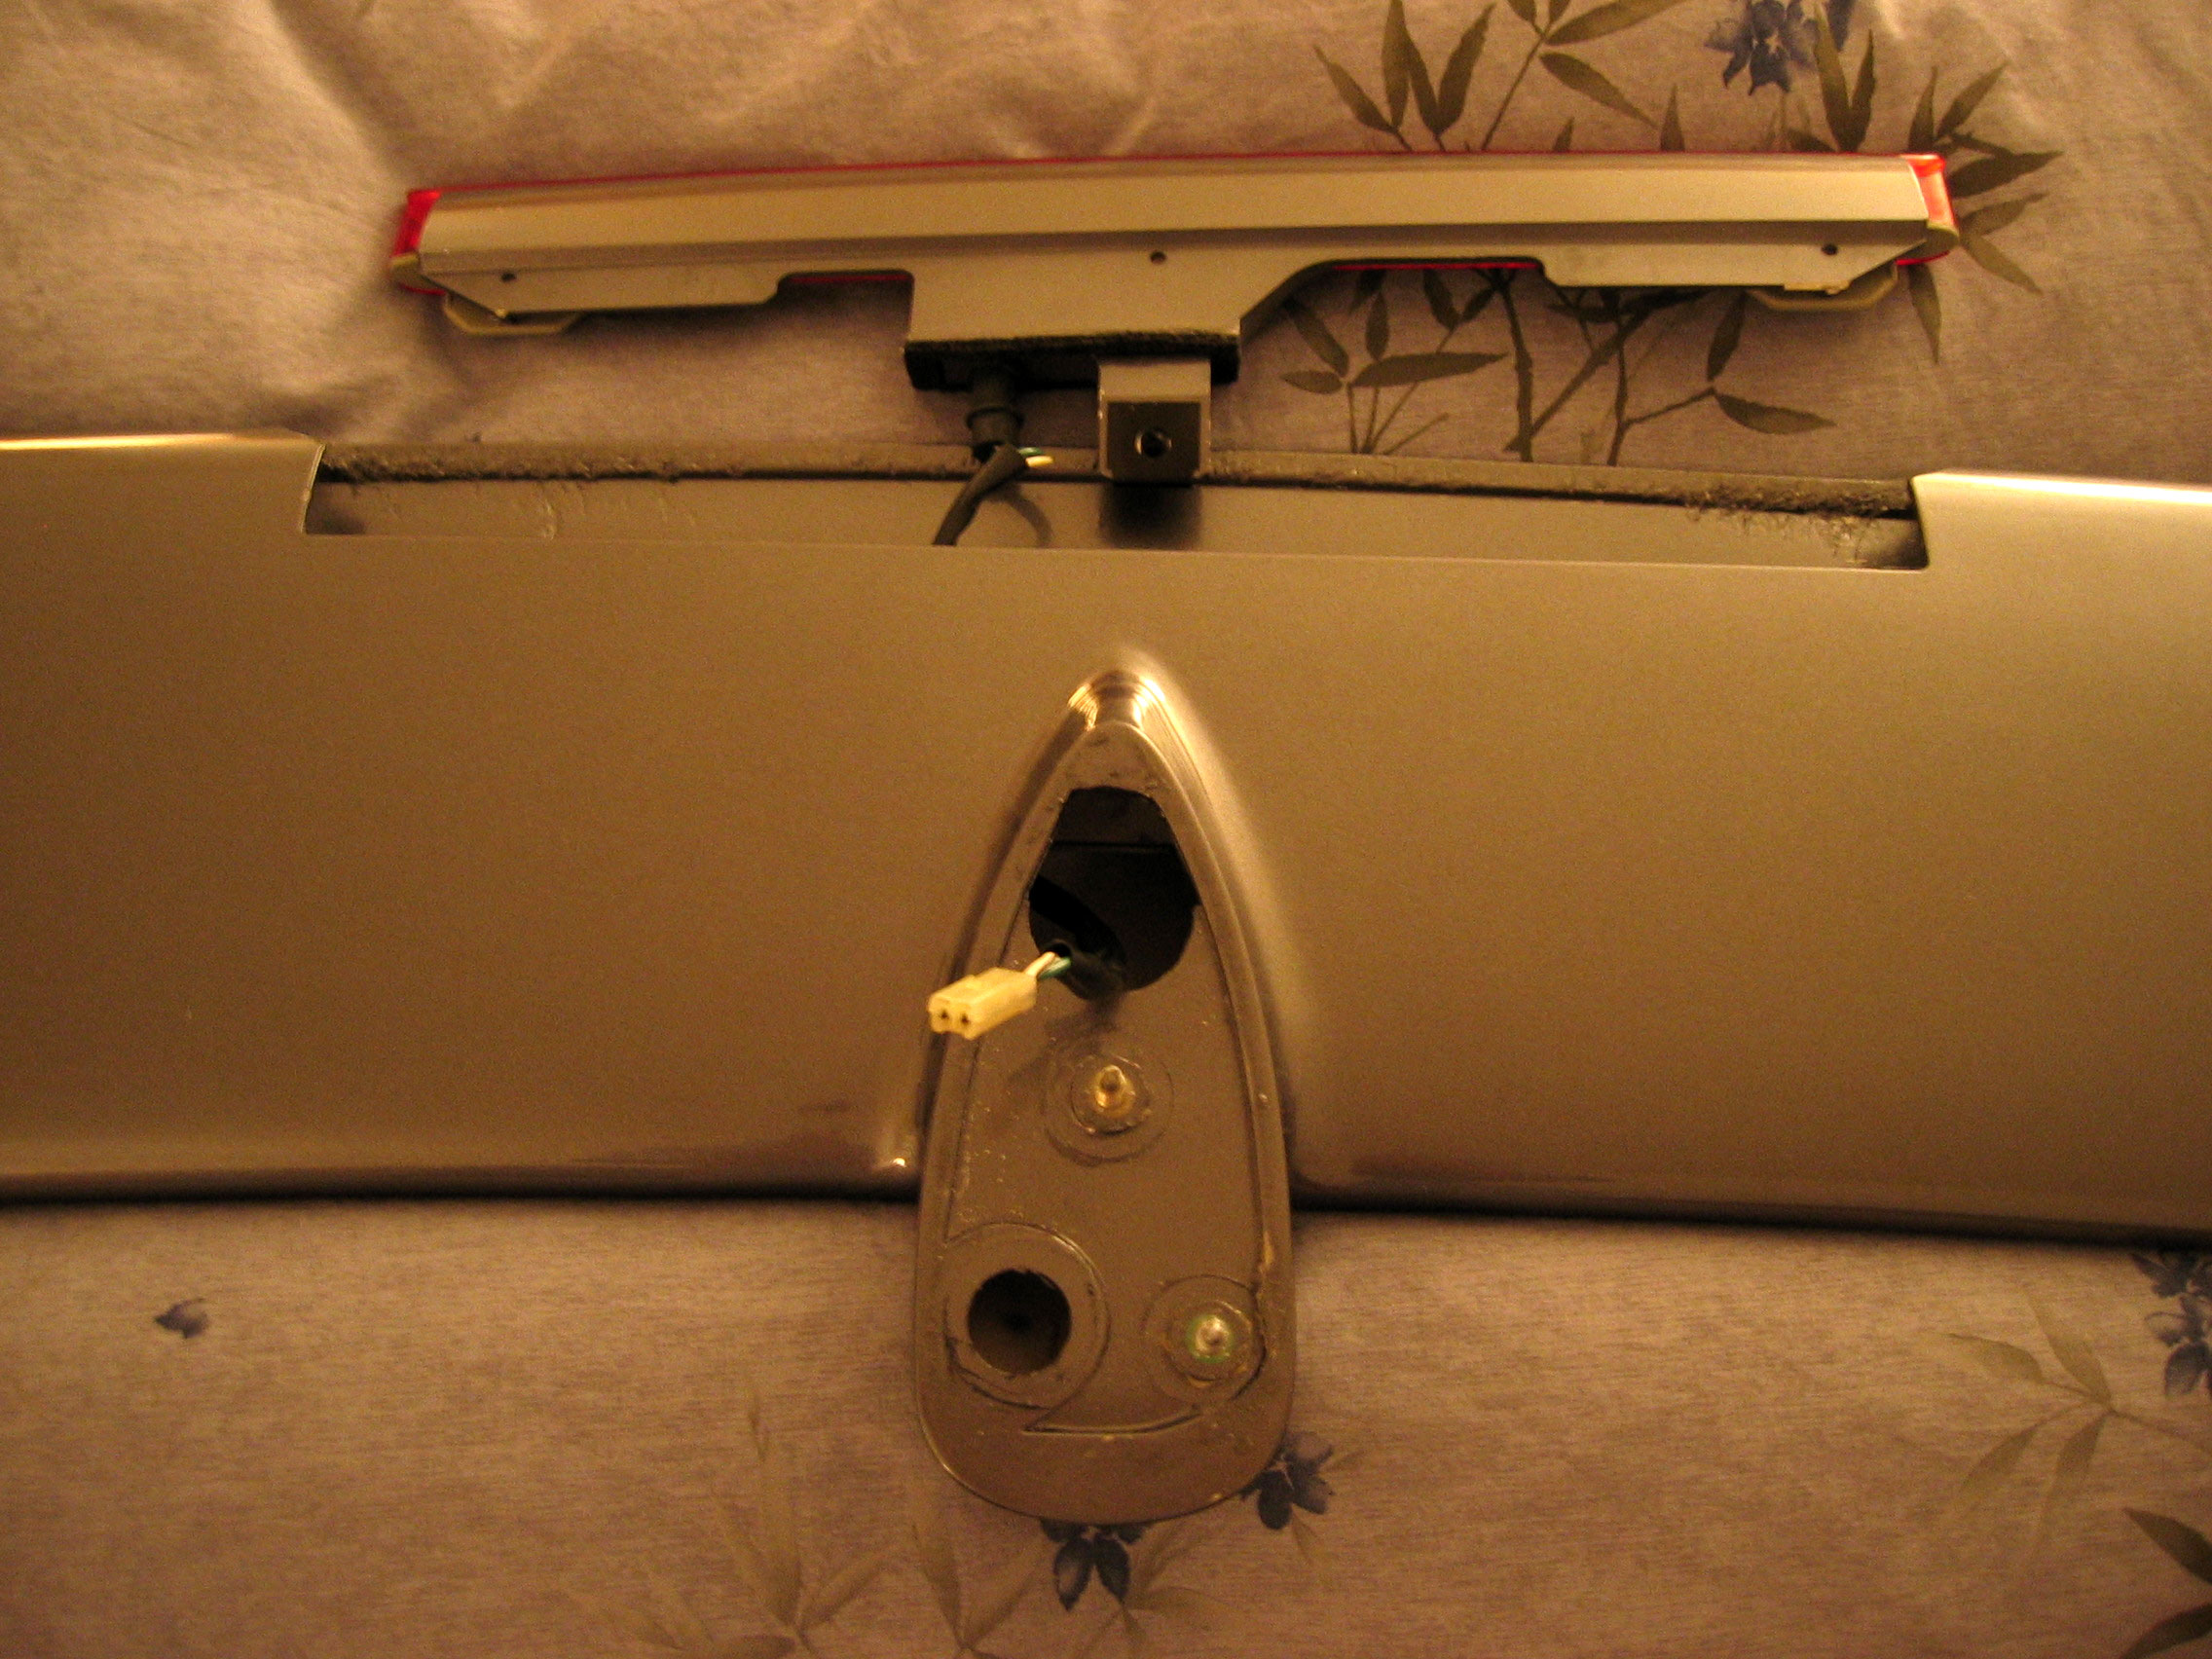 Replace the LED seal
|
| 10. |
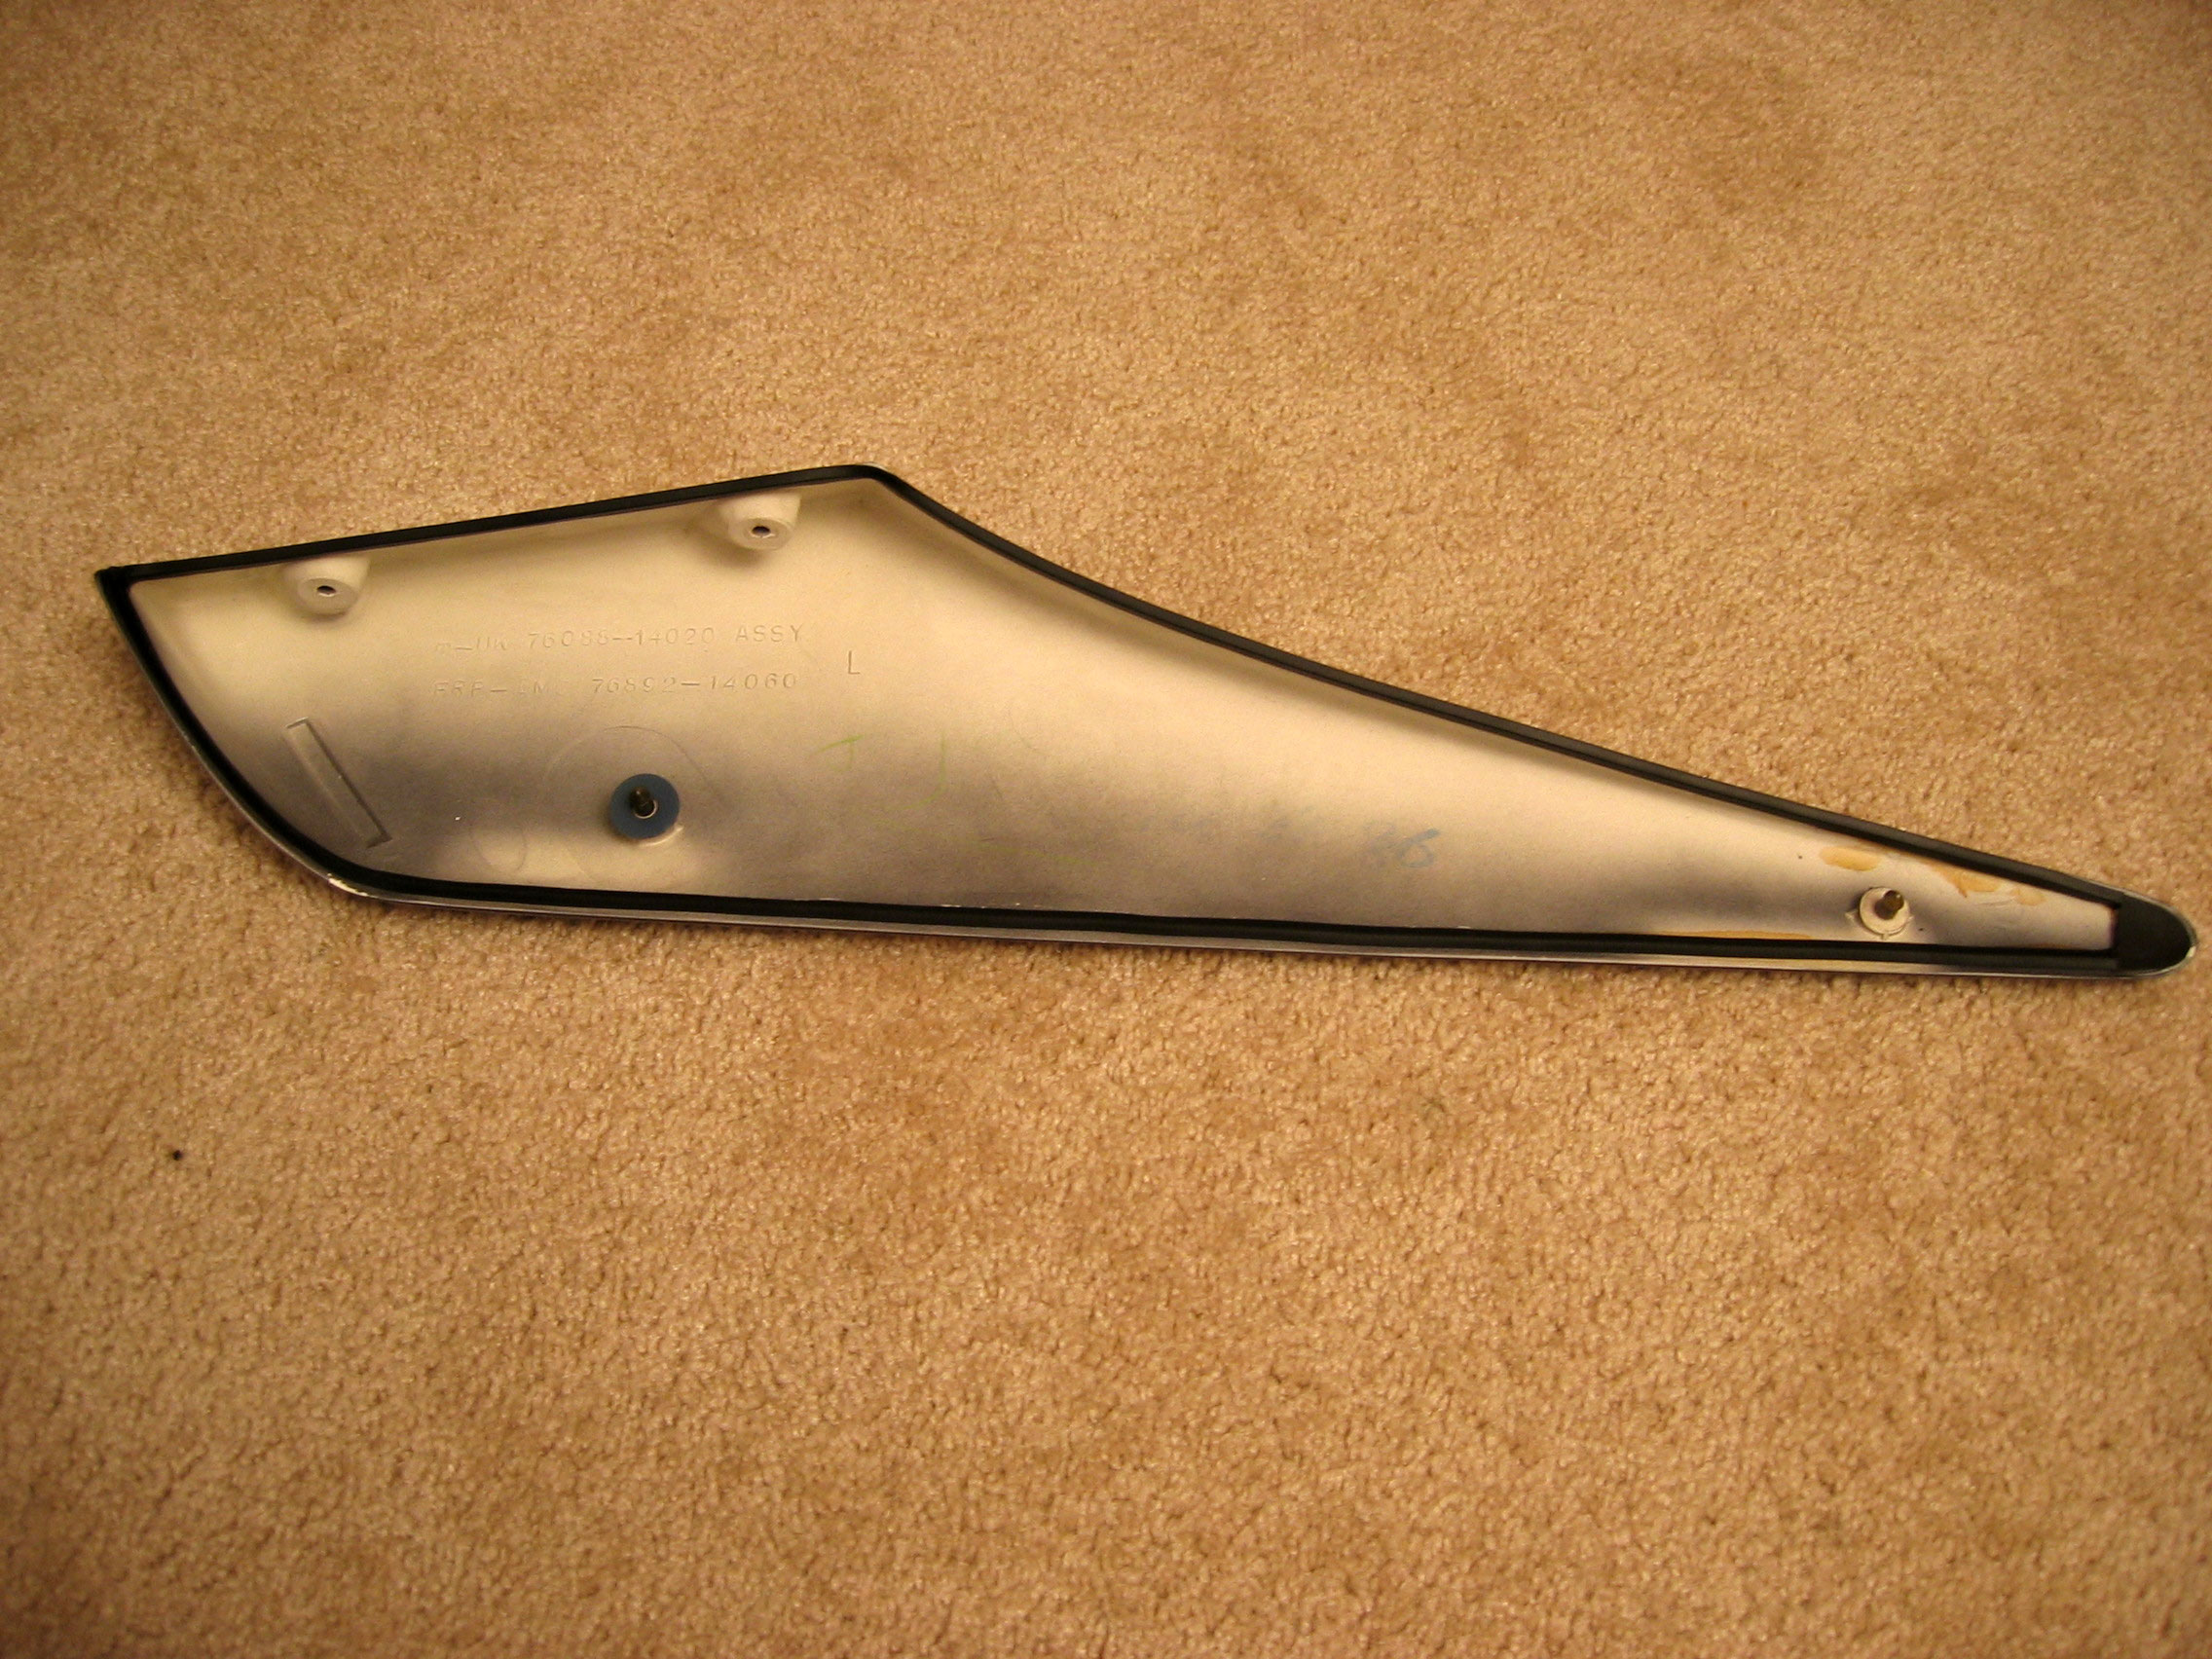 Replace the side wing seals
|
| 11. |
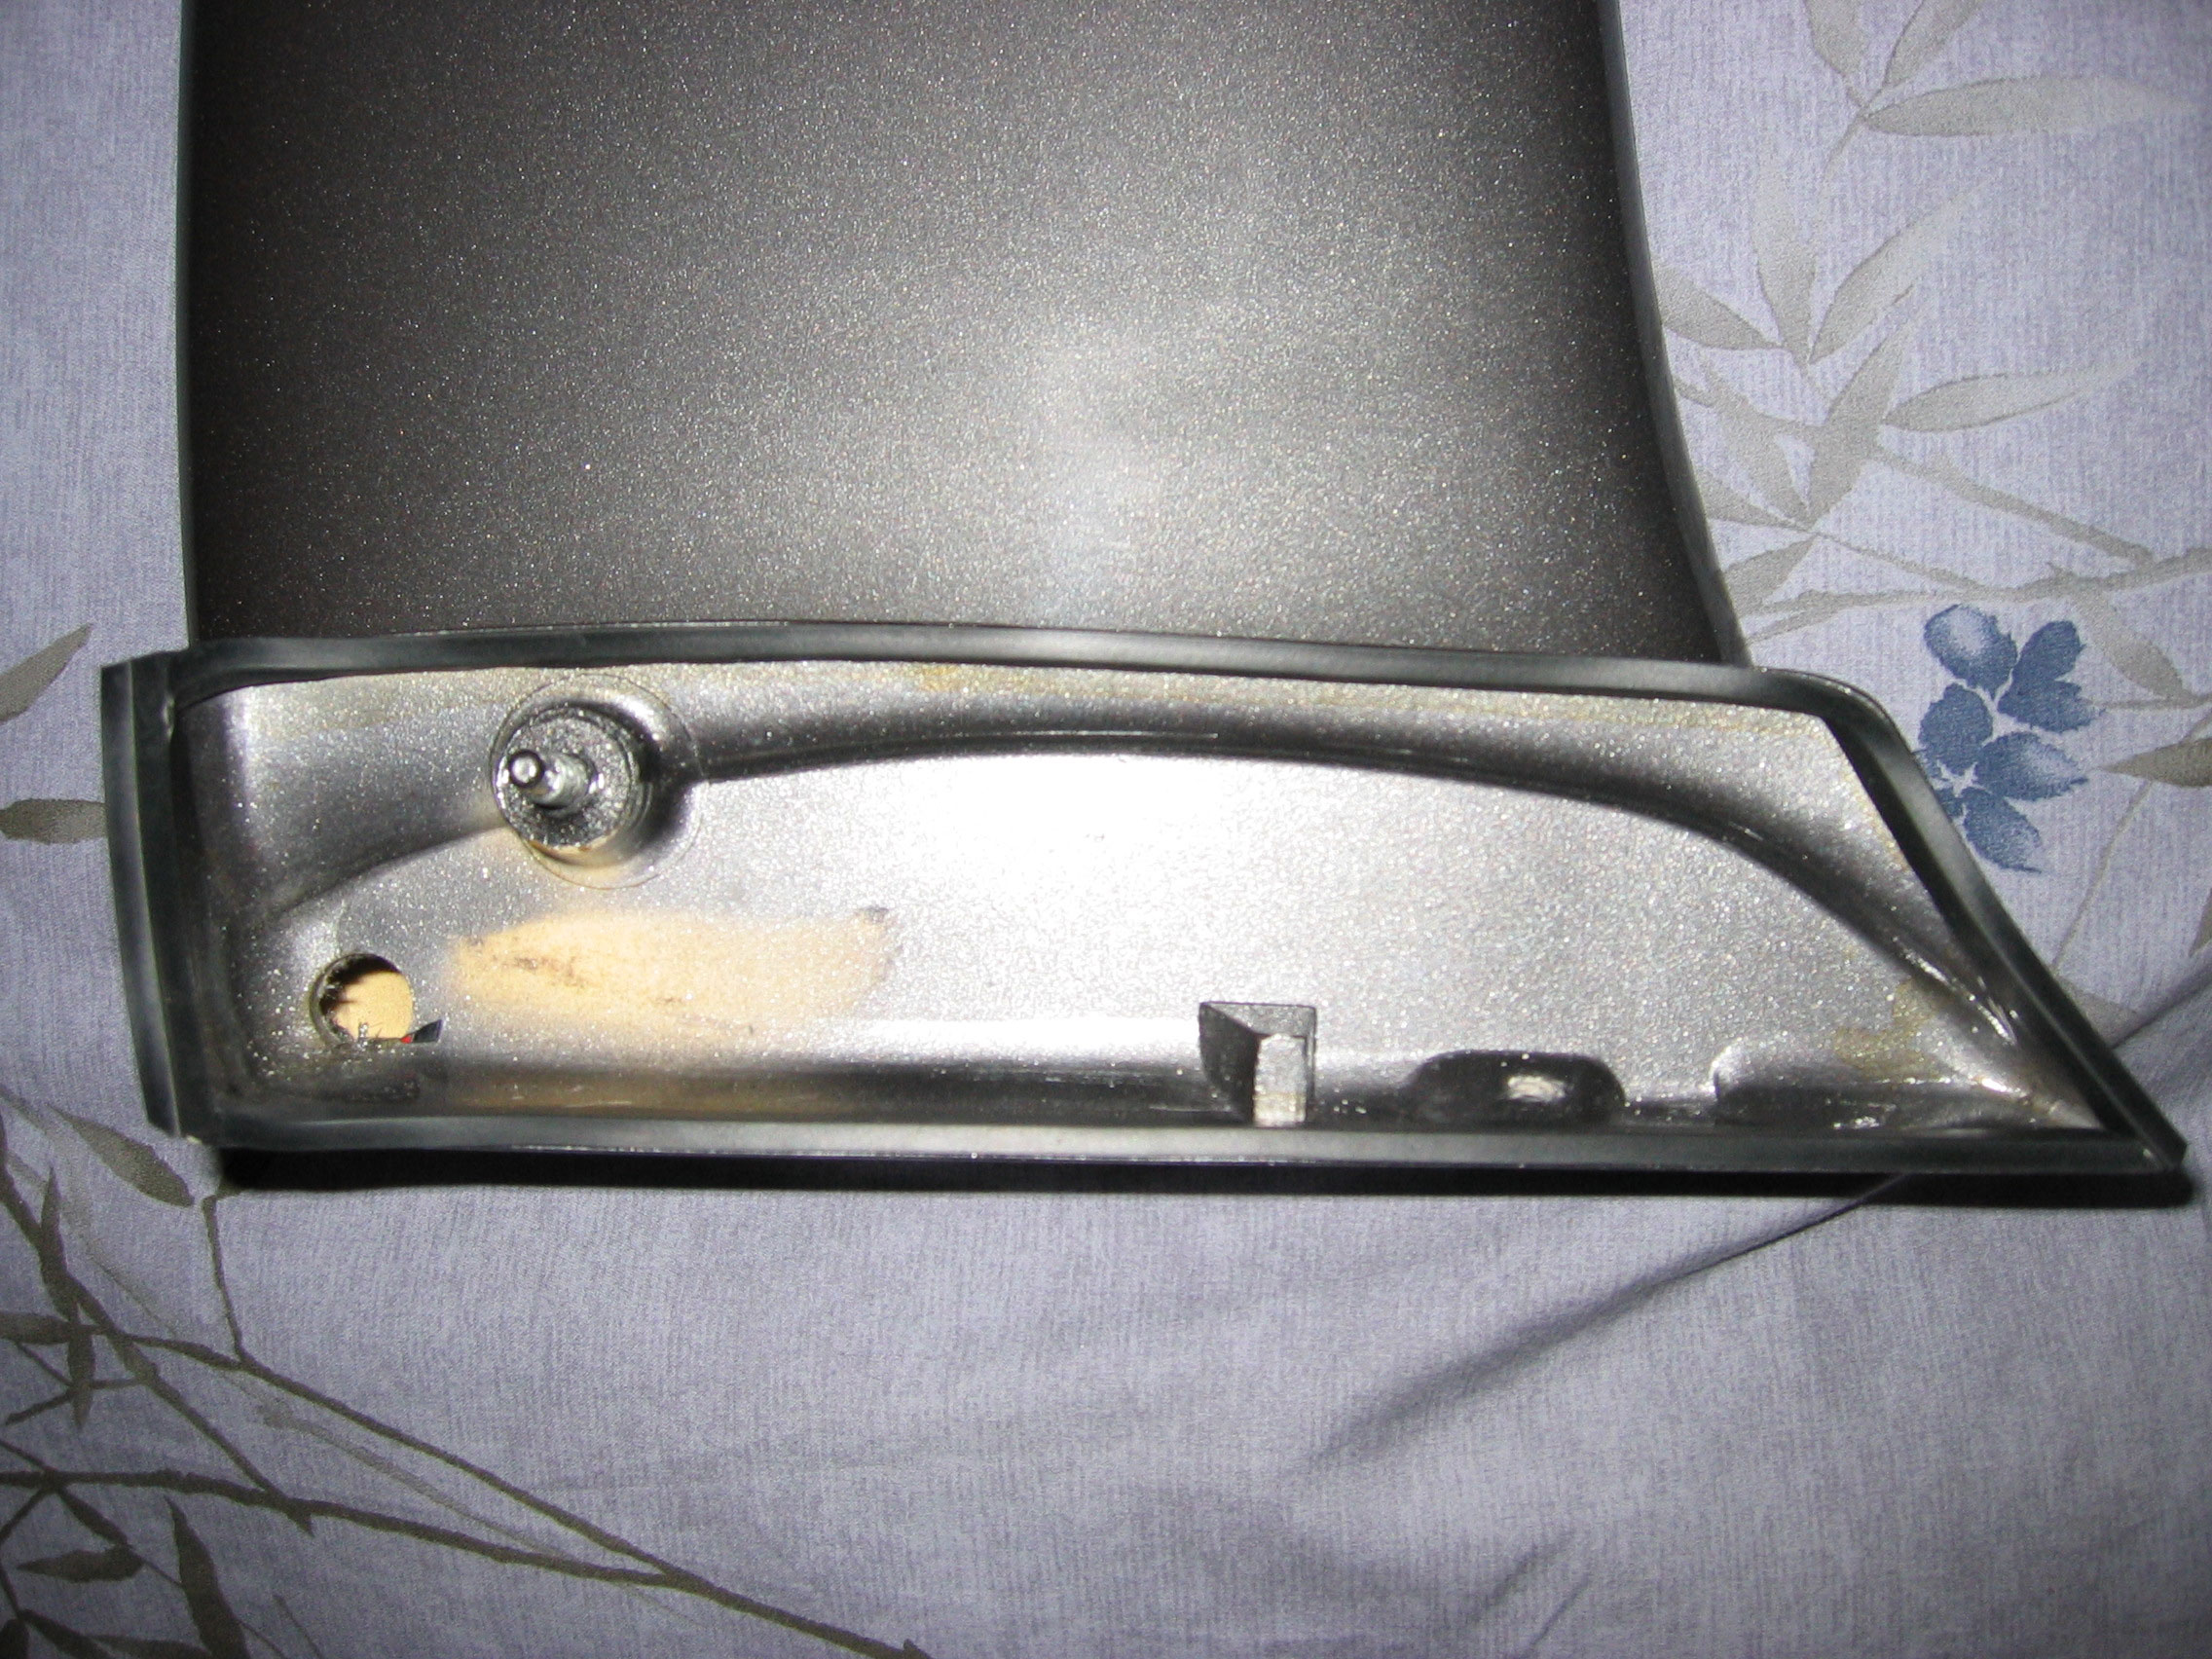 Replace the center spoiler seals
|
| 12. |
Put it back together When putting it back together you don't want to strip anything so what I did was to put my weight in the part to compress the seal then I tightened the nut to be snug. Test for leaks then tighten more if needed. |