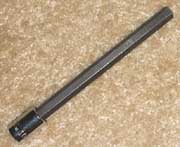
| Tools: |  |
Socket Wrench |
| 10mm, 12mm, 14mm sockets | ||
| 12mm long socket | ||
| 6"-8" Extension | ||
| 10mm Allen wrench socket | ||
| Torque Wrench | ||
| Phillips Screwdriver |
While you are here
| 1. | Replace the cam cover gaskets and center valley gasket |
| 2. | Replace the old hoses or leaking gaskets. |
| 3. | Inspect/Adjust valve clearance |
| 4. | Inspect/Change spark plugs |
| 5. | Inspect/Change ignition wires |
| 6. | Measure cylinder compression |
Instructions
| 1. | Wait until engine is dead cold. |
| 2. |
Disconnect the battery terminals(Optional) This isn't required but is a safety precaution that can save you or expensive parts on your car from needing tending to should something go wrong. |
| 3. |
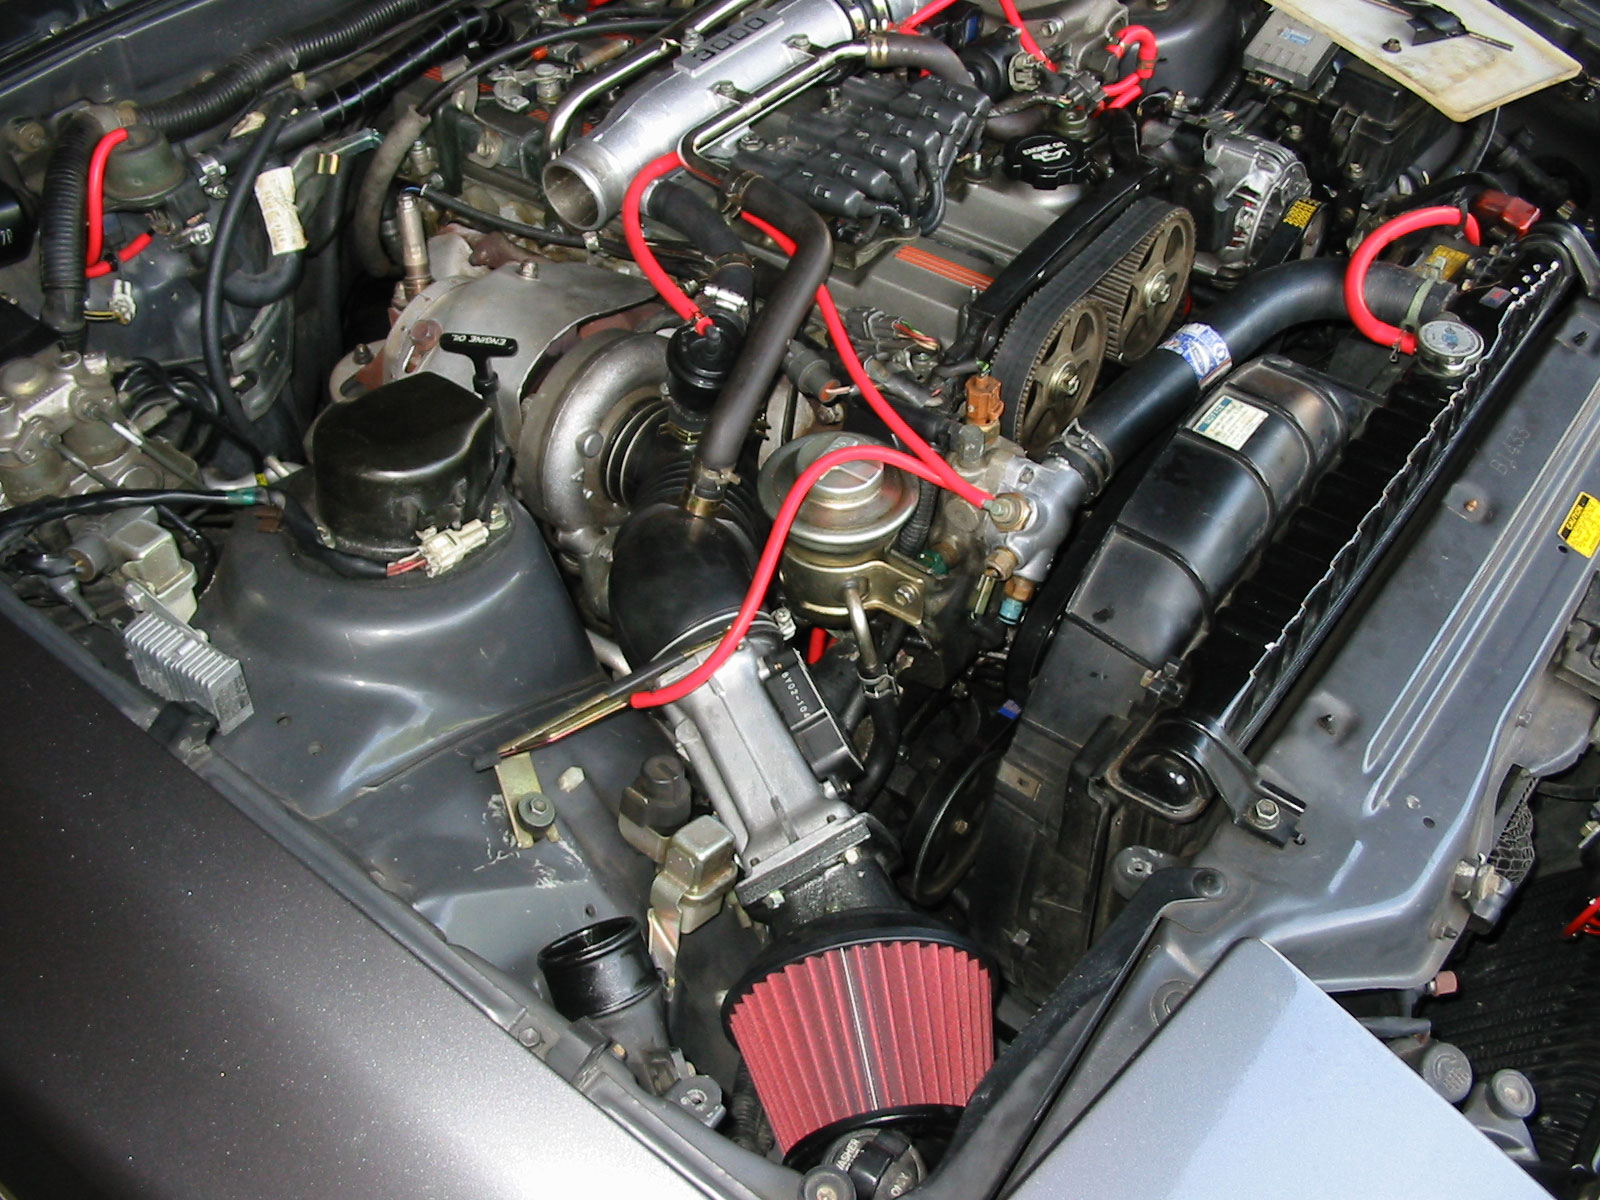 Remove upper IC Pipes at 3000 and fender wall
With a 10mm socket loosen the 2 hose clamps on the upper IC Pipes at 3000 and fender wall and remove. |
| 4. |
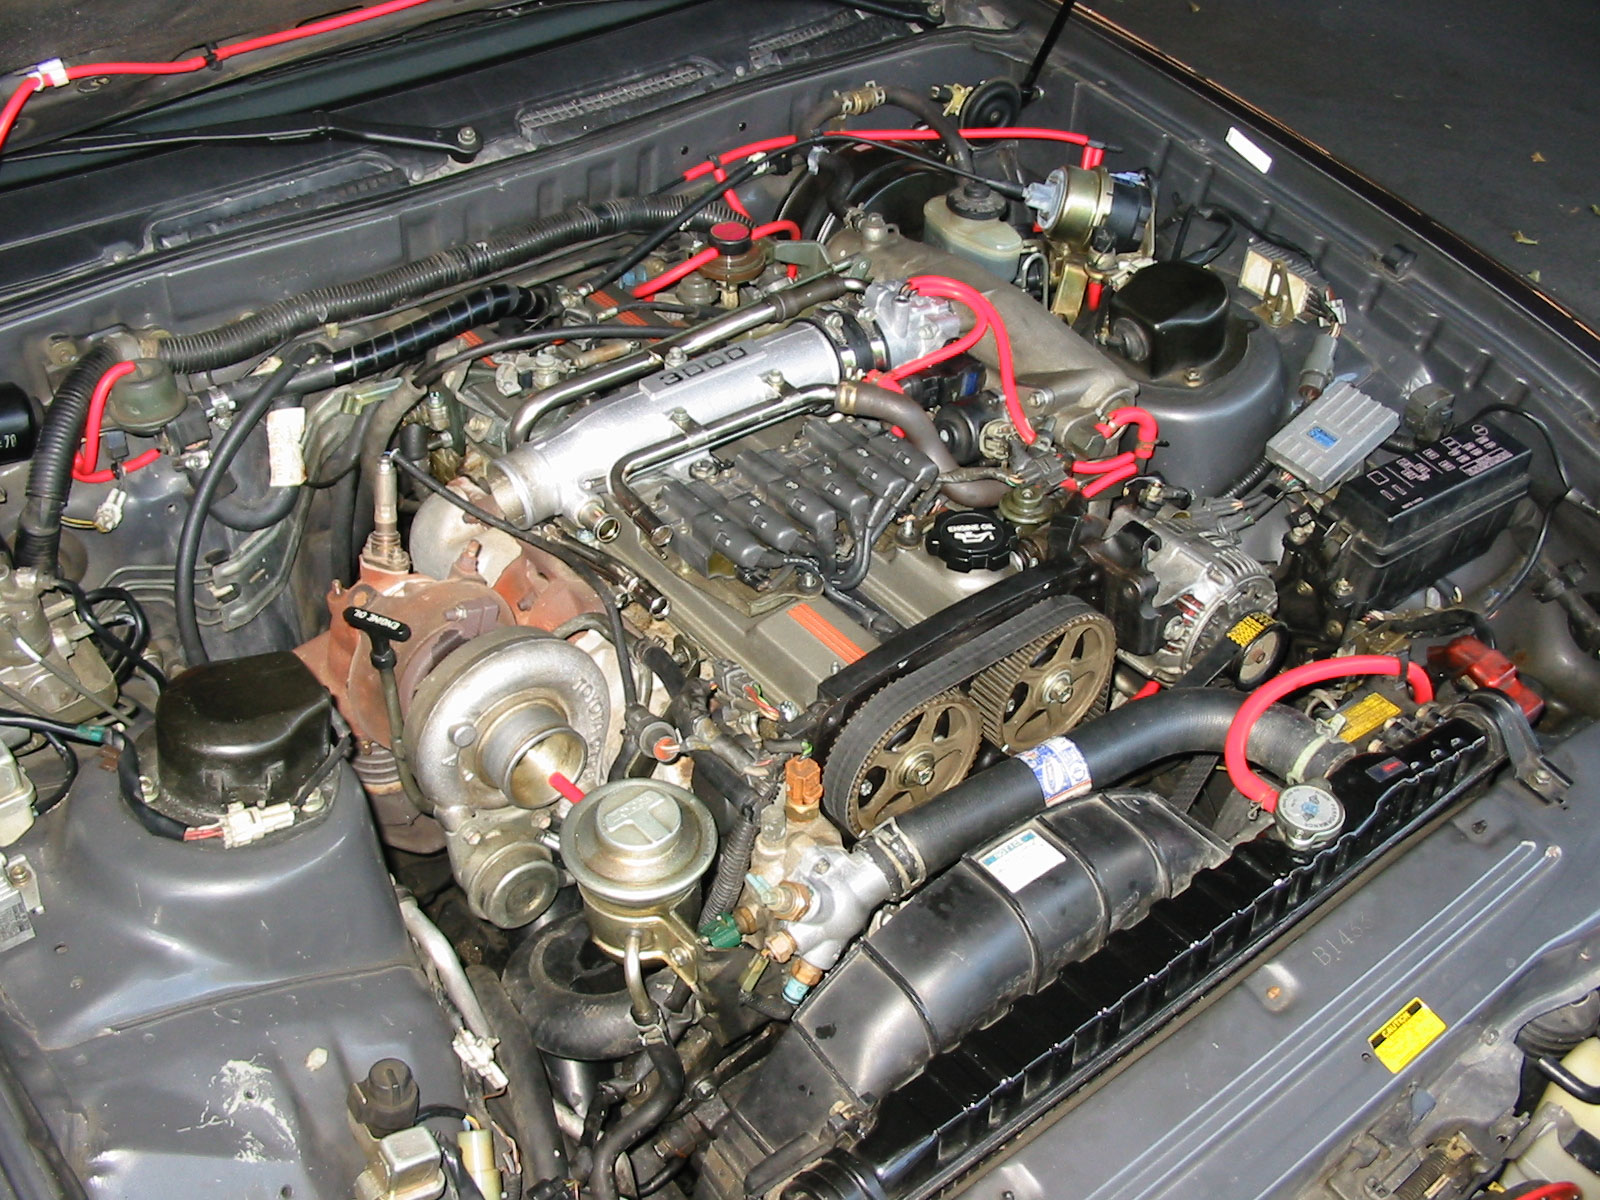 Remove the accordion hose & AFM
Using the #2 Phillips Screwdriver loosen the hose clamp at the accordion/turbo junction. With a 10mm socket remove the AFM brace connected to the body of the car. Then, using pliers slide back the hose clamps for the 3 hoses coming off the accordion hose at where they connect to the engine. Pull the accordion hose off the turbo then disconnect the vacuum hose (6mm) from the bottom. Remove the vacuum hose (6mm) from the BOV. Now remove from car. |
| 5. |
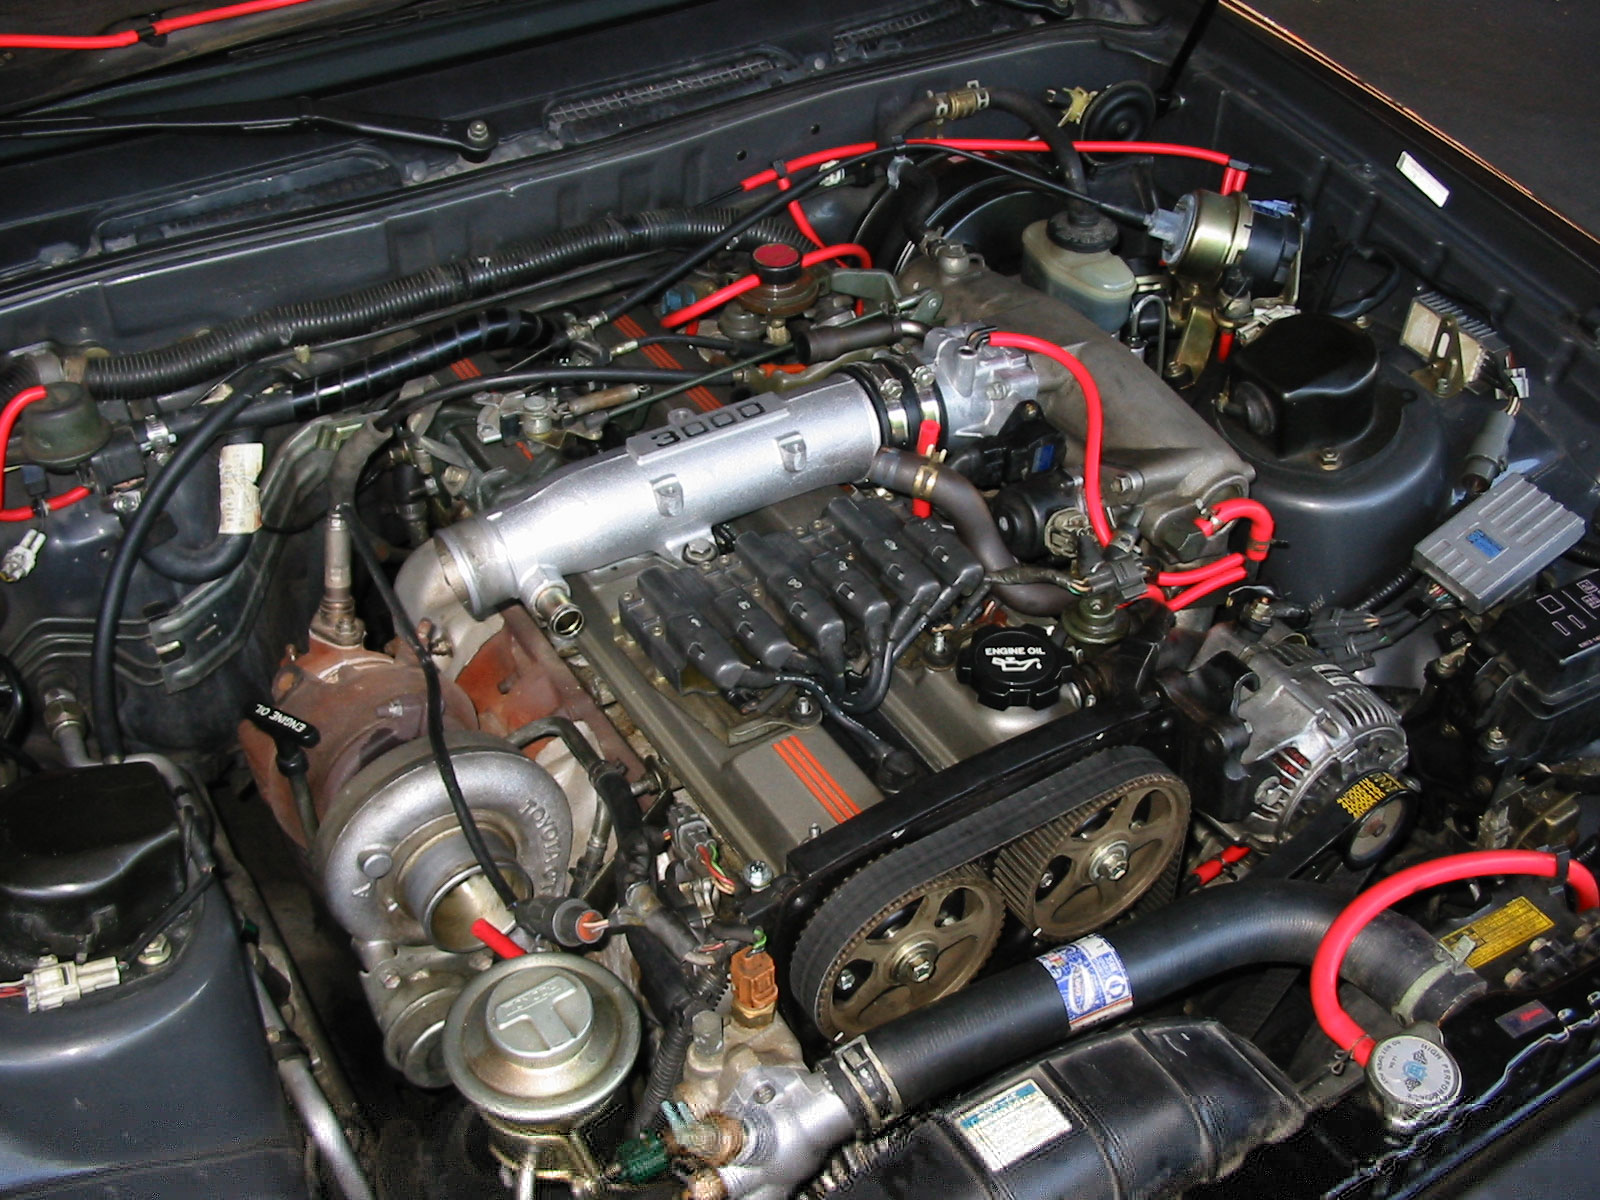 Remove the ISC/BOV & PCV Pipes
In front of the 3000 Pipe is another metal pipe like the PCV pipe. Remove the two 10mm bolts holding it to the 3000 pipe. Remove the hose clamp on the drivers side of the pipe and disconnect from the hose from the pipe. On the drivers side remove the 6mm and 4mm vacuum hoses. Remove the pipe from the car and replace the two bolts on the 3000 pipe. Behind the 3000 Pipe is the PCV pipe that connects the valve covers to the TB to the Accordion hose. Remove the small hose clamps that connect the valve covers to this pipe as well as the one that connects this pipe to the TB. Remove the 12mm bolt that attaches the PCV pipe to the 3000 pipe. Next using a 12mm wrench loosen and remove the "bitch bolt". This bolt is located at the accordion end of the pipe and is next to the turbo. This bolt is best done on a cold engine and be carefull not to let it fall. It might help to remove the turbo heat shield. Remove the PCV pipe. After you are finished place the bolt from the 3000 pipe back in the pipe. |
| 6. | Remove the Ignition Coil Pack Cover Remove the five 10mm bolts holding the Ignition Pack Cover. Remove the oil cap. Now pull off the cover and replace the oil cap. This plastic is fragile so be careful. No picture for this as I had it off for testing reasons, so technically the previous picture is correct for this step. |
| 7. |
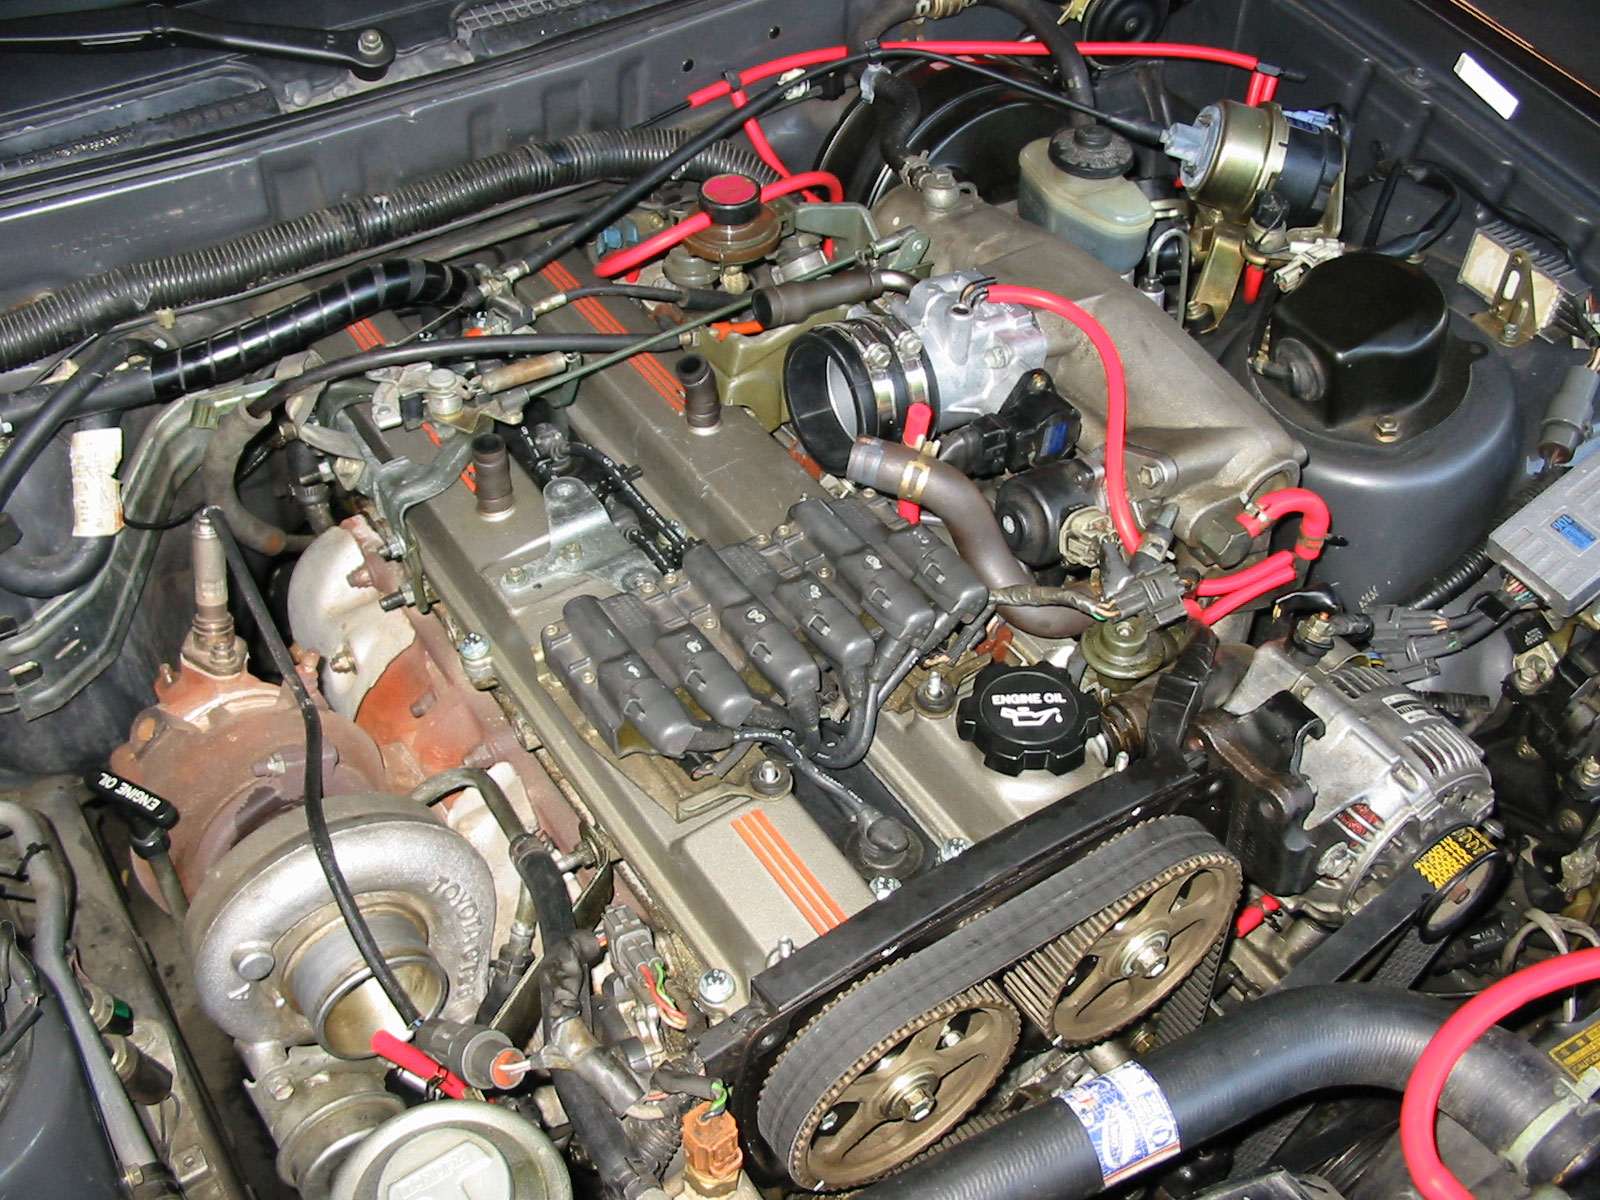 Remove the 3000 Pipe
Next remove the two 14mm bolts holding the 3000 pipe to the cam covers. Now using a 10mm socket loosen the 2 hose clamps on the small section connecting the TB to the 3000 pipe. Carefully separate the 3000 pipe from the TB as that rubber hose is fragile. I replaced this rubber part as mine was very hard. Now remove that rubber thing from the TB. |
| 8. |
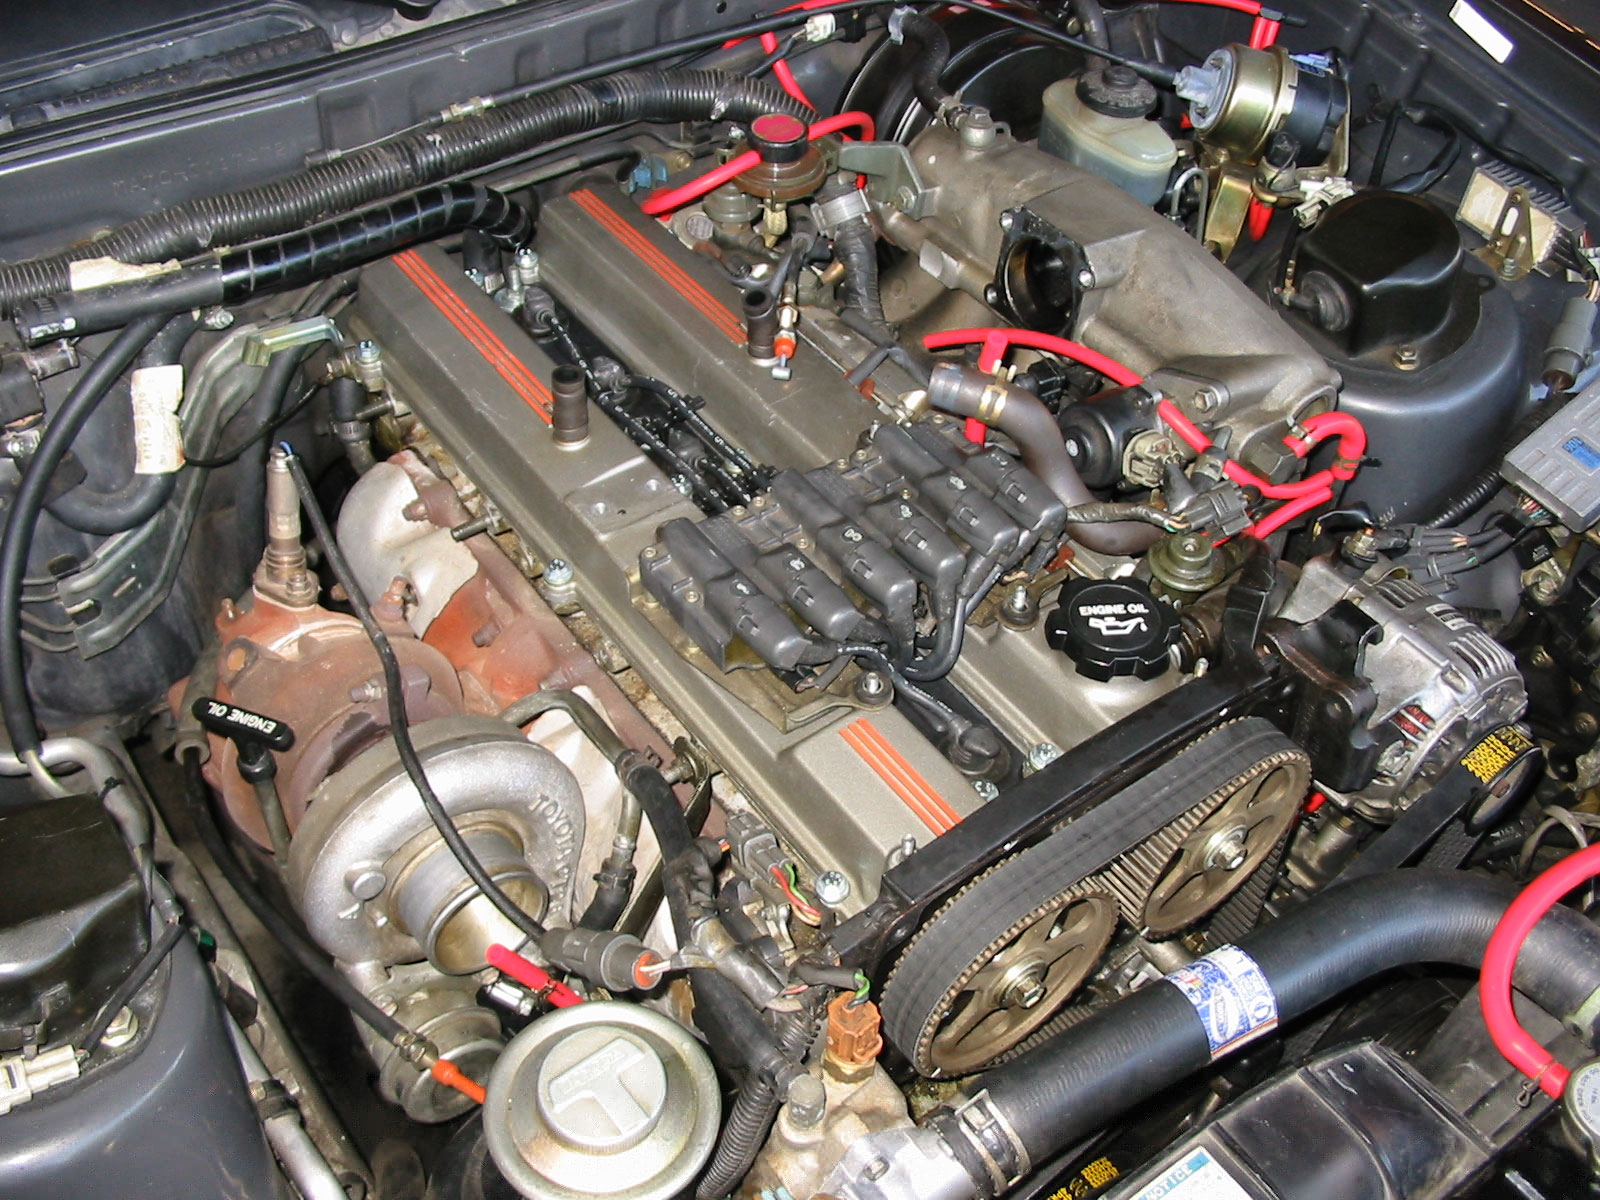 Remove the Throttle Linkage
Using a 12mm long socket with an extension remove the 2 bolts holding the bracket for the Linkage to the exhaust side of the head. Next with a 10mm socket remove the bolt on the top of the linkage holding to the center valley. Loosen the cables bolts with a 12mm wrench and disconnect all the TB linkage from the TB. In the picture I also took off the TB but this is totally not needed and a PITA if you have the coolant lines still running through it! |
| 9. |
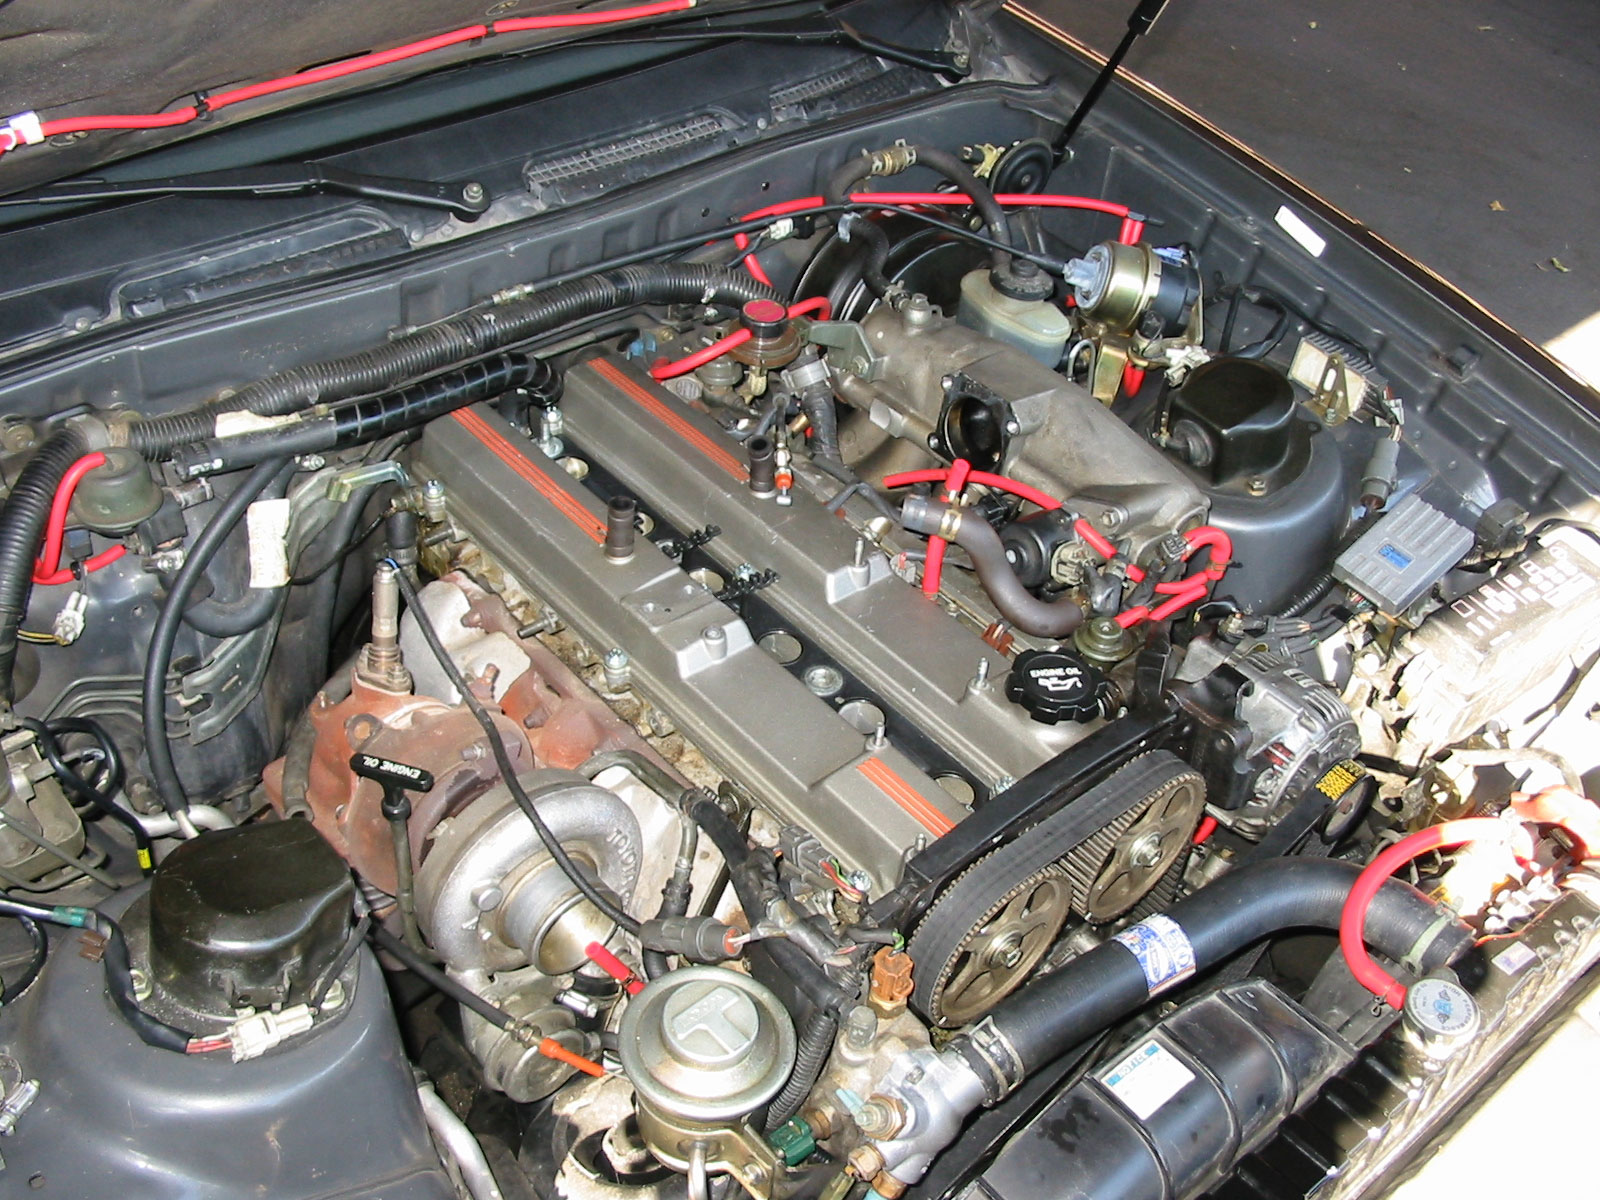 Remove the Iginition Coil Pack and Wires
This part is very expensive, be careful. Remove the 12mm bolt holding the grounding wire to the intake manifold side of the head between the 2nd and 3rd cylinders. Disconnect the wiring harness coming from the coil pack at the connector on the intake side of the head. Remove the remaining 10mm nut holding the coil pack to the cam covers. Disconnect the wires from sparkplugs 1,6,5 and 4 and pull the wires from the guides. Then lift the coil pack, it is heavy, and disconnect 2 and 3. Remove the whole thing and place in a safe place trying not to bend the wires. Replace the grounding bolt in its hole. |
| 10. |
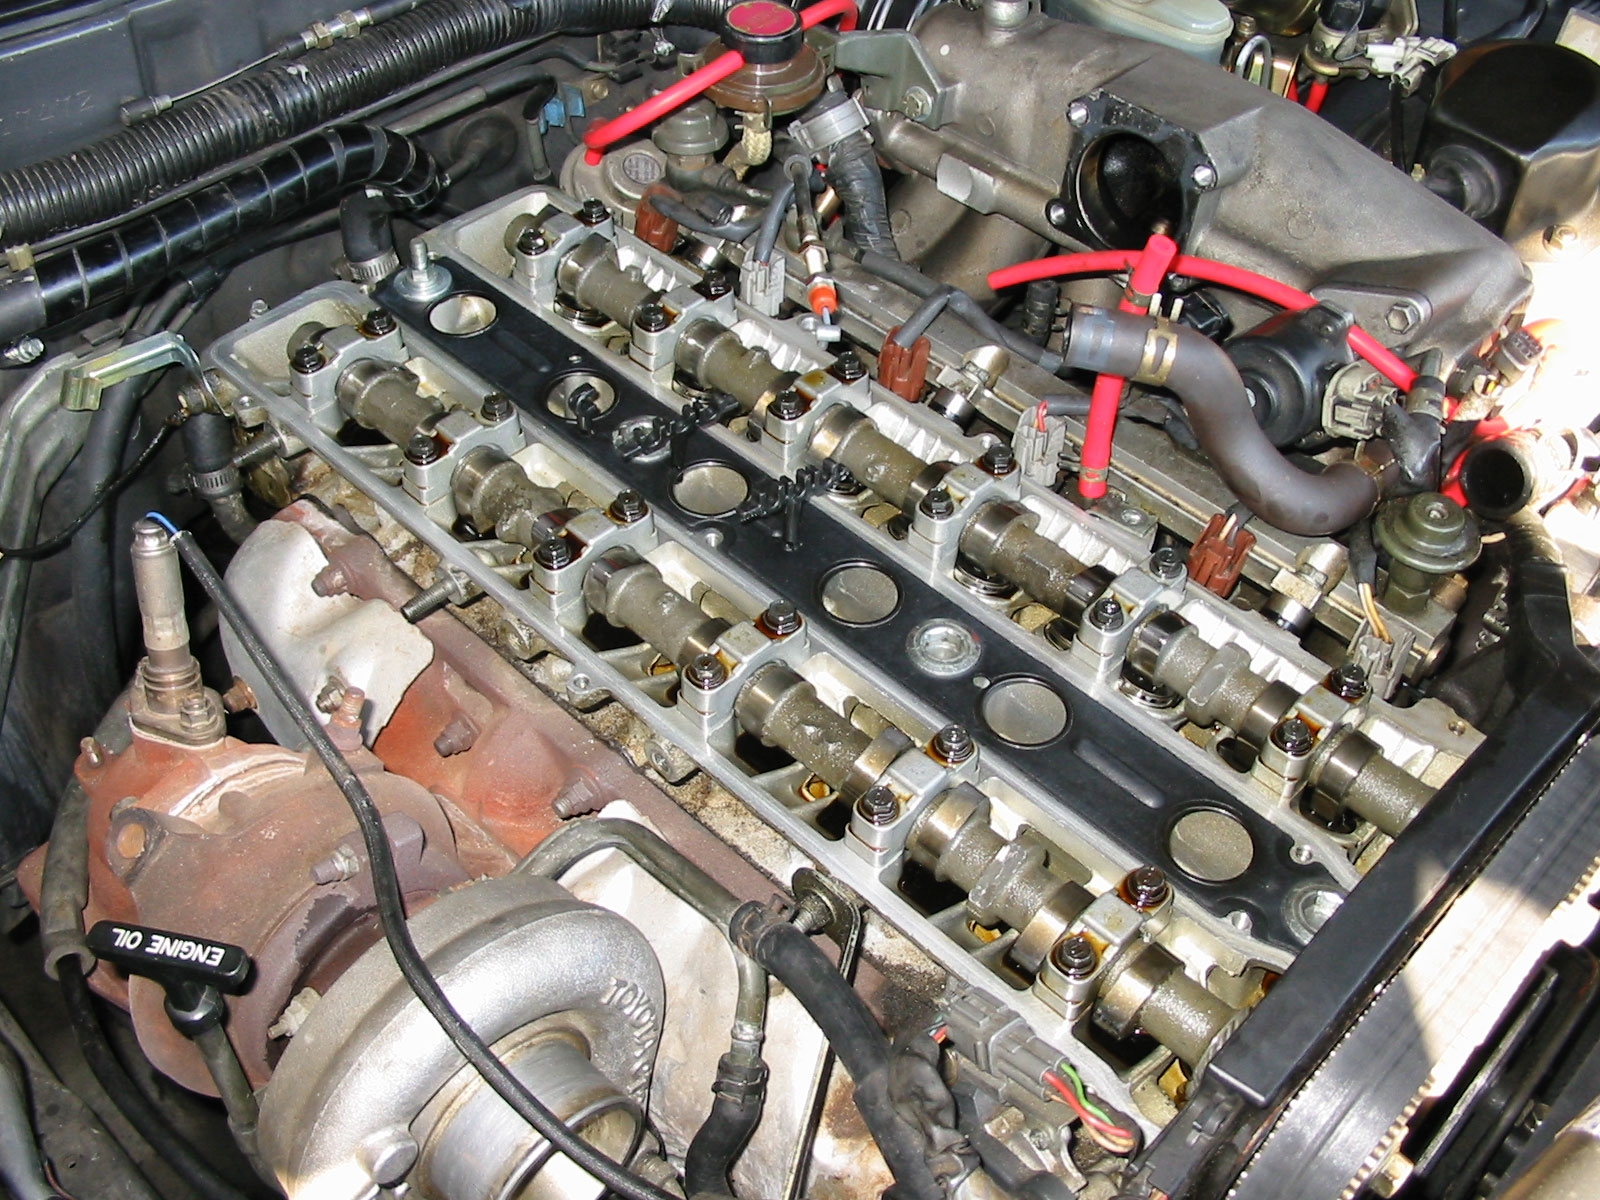 Remove the Cam Covers
Using the pliers remove the hose clamp on the hose next to the oil cap, then slide it off the intake cam cover. This hose used to be soft and pliable but may now be crystal so it could be a fight where you have to cut it off. Next loosen the hose clamp for the heater hose at the control valve for the hose that comes from the center and goes to the passenger side. You want to move it around to get to stuff. The Cam Covers are each held by 6 long phillips screws 3 to a side. Use a #2 Phillips screwdriver and remove the screws then pull the covers off. They are soft and seem to strip easy. I replace mine with similar bolts. Slide the cam covers out, takes a bit of maneuvering and place where the oil that is covering them won't ruin anything. |
| 11. |
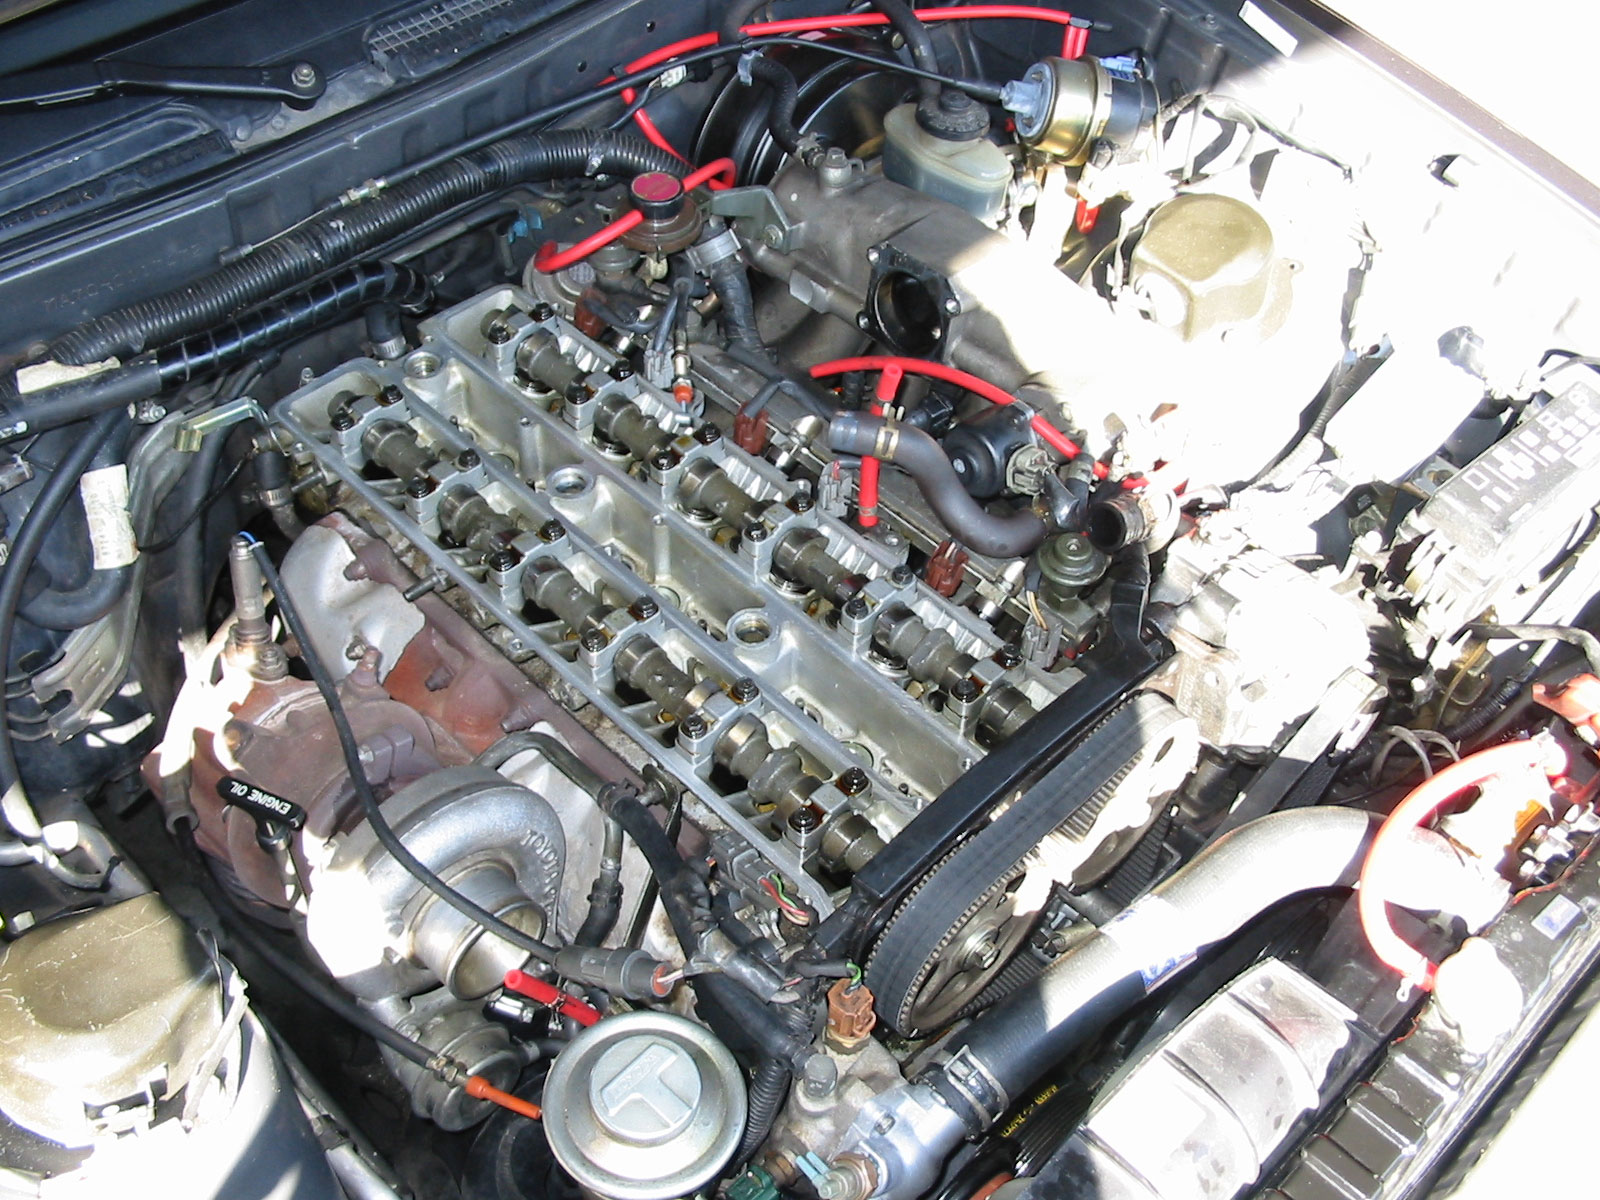 Remove the Center Valley Gasket (Optional)
Look in your plug holes. If you see oil, likely, then you should take this out and sop out the oil with cotton. You need a 14mm allen wrench socket to remove the 4 retaining bolts. Mine were on there good, needed a breaker bar, but they aren't supposed to be put on with much torque. The rear one has a bolt that you will need a 12mm long socket to remove. then use the 14mm on it. I replaced this gasket because mine was well worn. Take this out and place in your pile of stuff. |
| 12. |
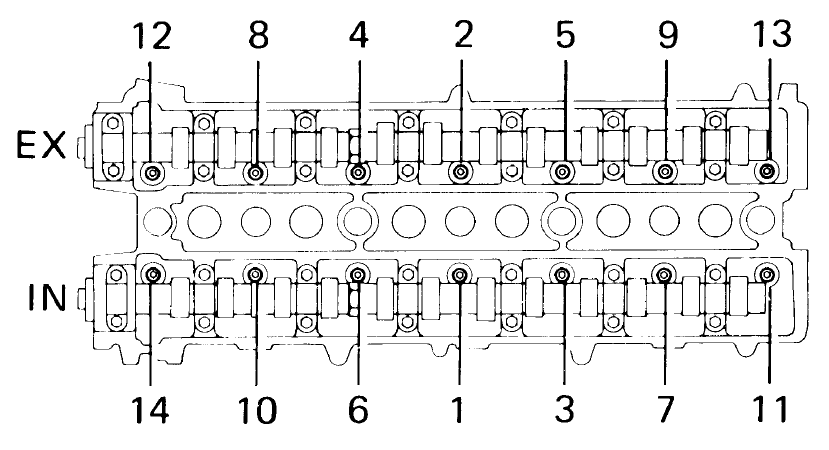 Torque the Head Bolts
Using the appropreate tool, 10mm allen for stock, go around in the star pattern and check that all the bolts are holding whatever torque you are setting it to. Mine were set at 75 ft/lb and I am using ARP head bolts with ARP moly lube. There are schools that say you should back each bolt off 1/4 turn so you get accurate readings. I understand their point but I didn't do this. |
| 13. |
Clean Stuff Now we want to let the bolts sit. The longer the better overnight if you scheduled this well but a few hours will do. Use this time to clean your parts well, look things over, maybe check your valve clearances, change plugs or just eat lunch. |
| 14. |
Recheck the torque After letting the bolts sit go around again to make sure they are still holding the torque. |
| 15. |
Reassembly Put everything back on in reverse order, next time I do this I will write all the torques down, but for now I will leave it as an exercise to the student to consult their TSRM. |